General case designs and manufacture measurements.
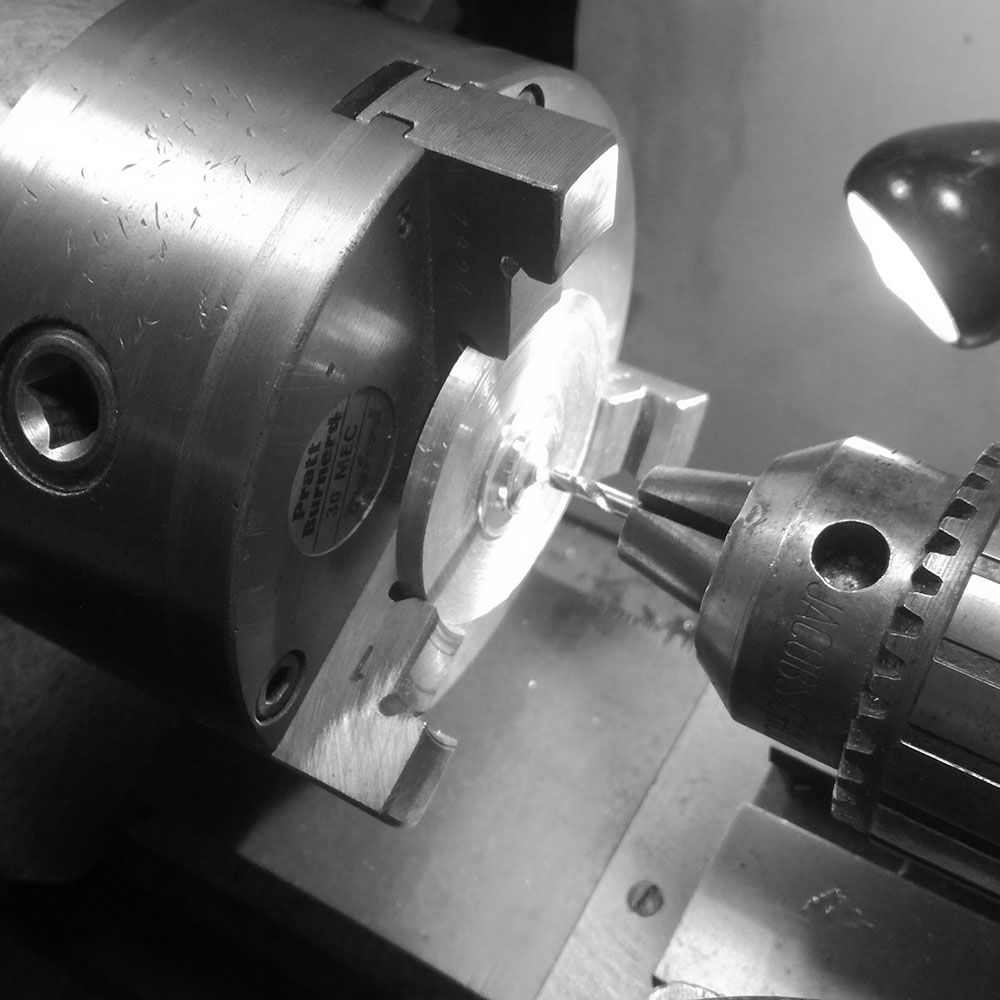
Solid 316L stainless steel billet with guiding hole.
Hole drilled.
25mm by 70mm billet (1 inch thick by 2.5 inch diameter)
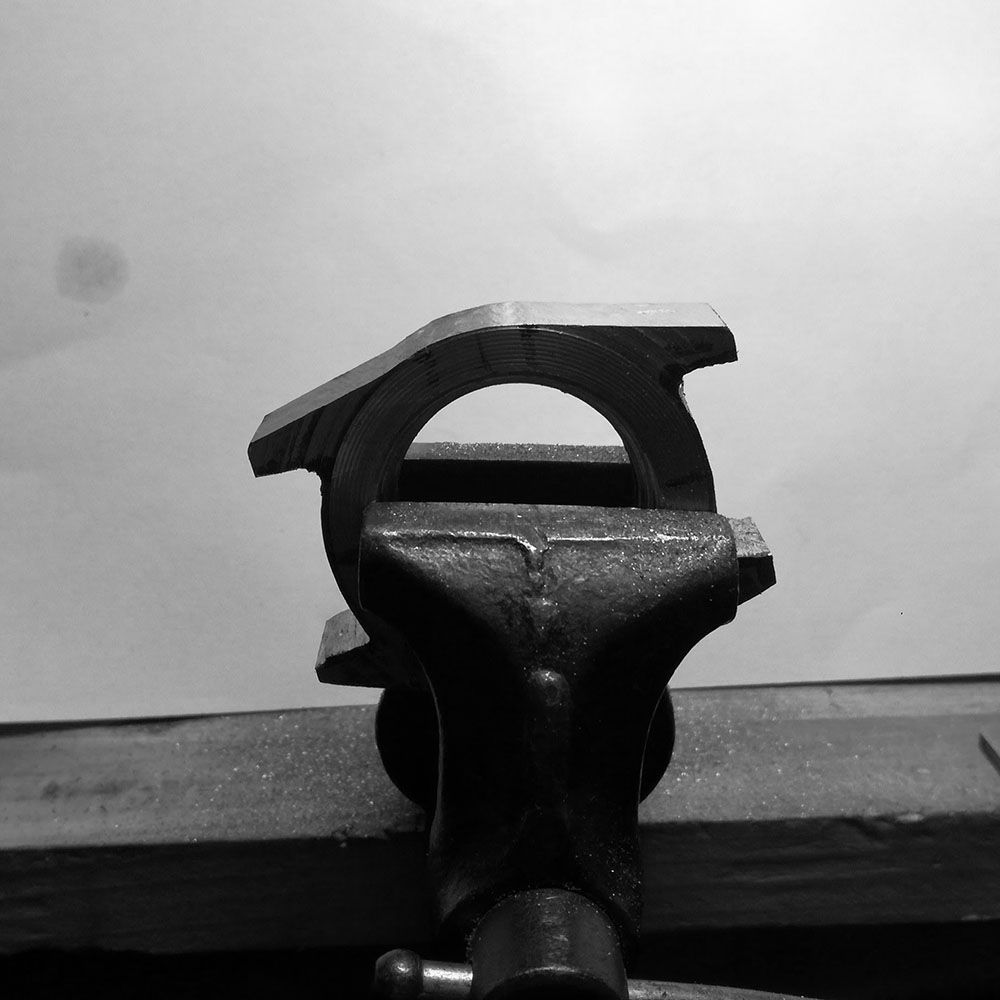
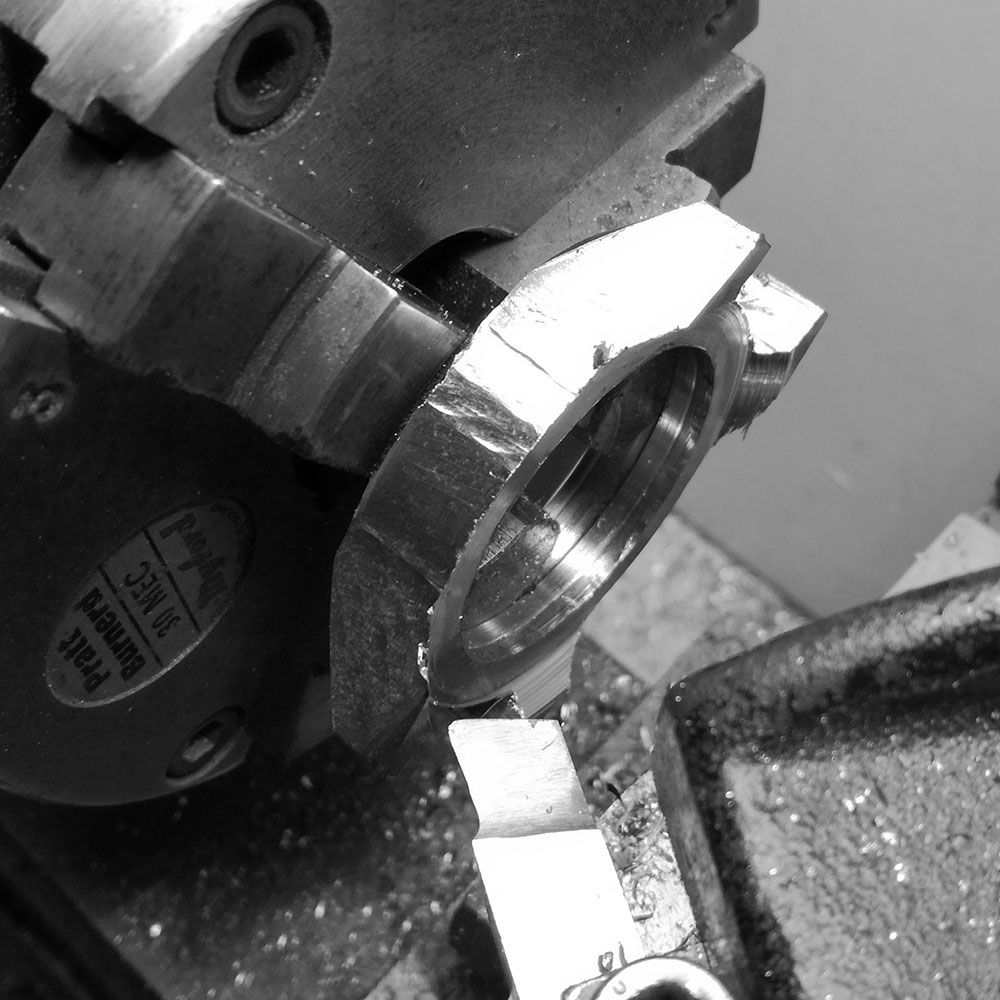
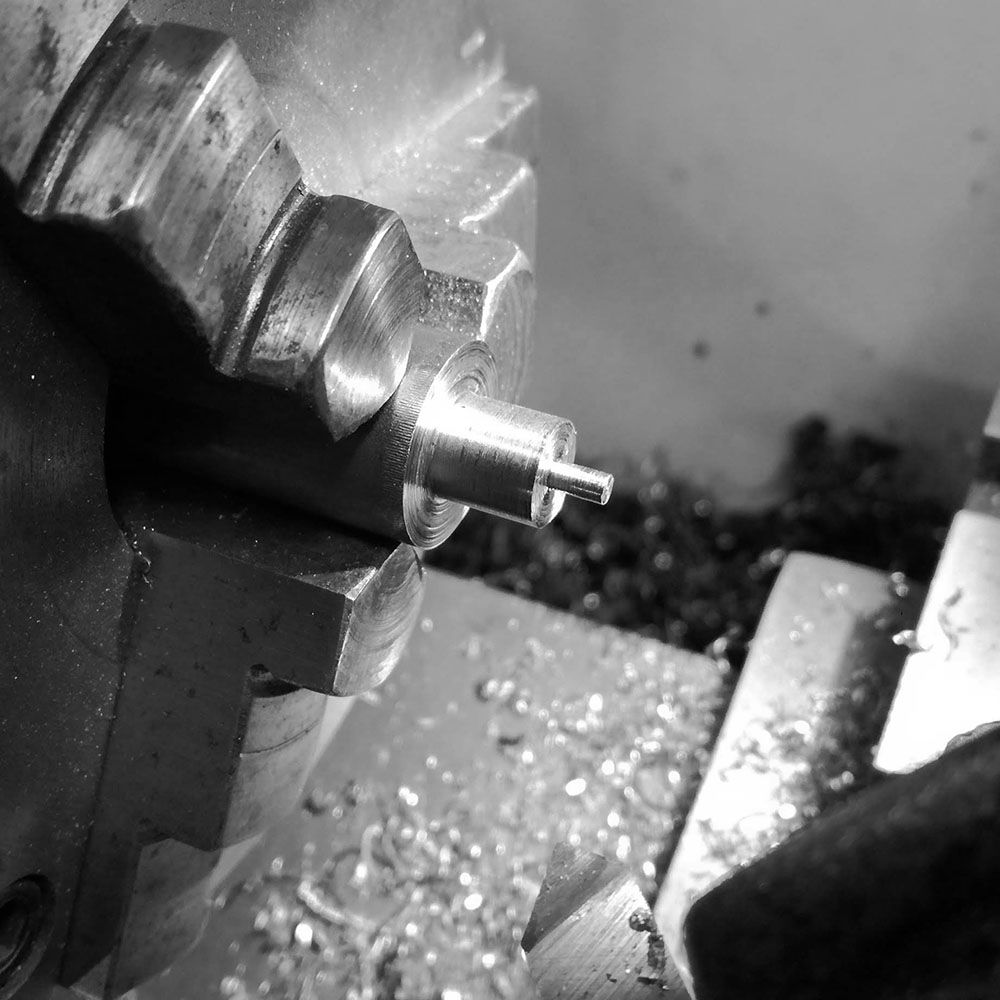
The front was turned in order to cut the material for the bezel.
Bezel area and body sections separated (work here being done at a family's barn in southern Lazio area).
Stainless parts for cases of 2 of 3 watches.
General rough cuts of sides.
Main portion of case cut.
Turning down the thickness of the case from 19mm to 13mm.
Turning in sections.
Further turning.
Case reduced to 13mm thick.
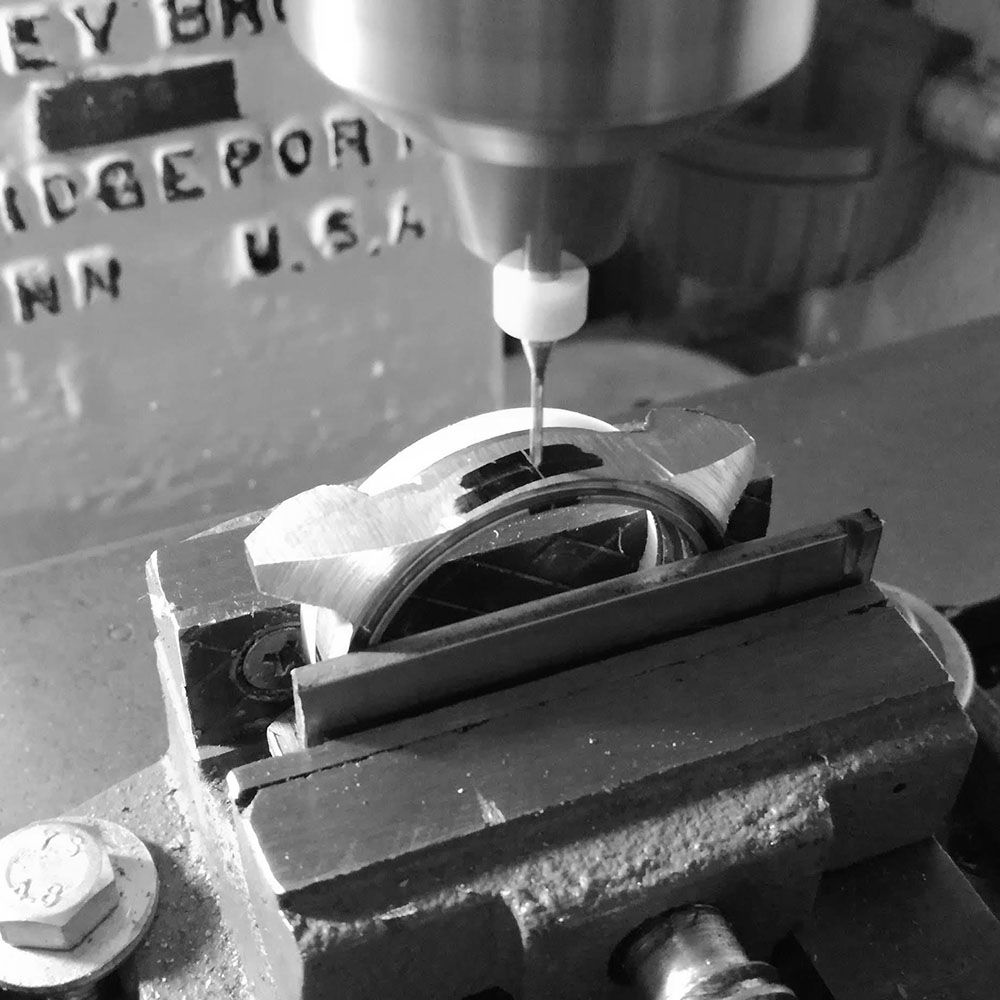
Case sides are milled to be parallel.
Further milling.
A look at the billet in this intermediate stage.
Side finishing from where the lugs will be sculpted.
Here I commence with milling out the interior area of the lugs to get to the general coordinates of the watch case.
Further milling out of the second lug area.
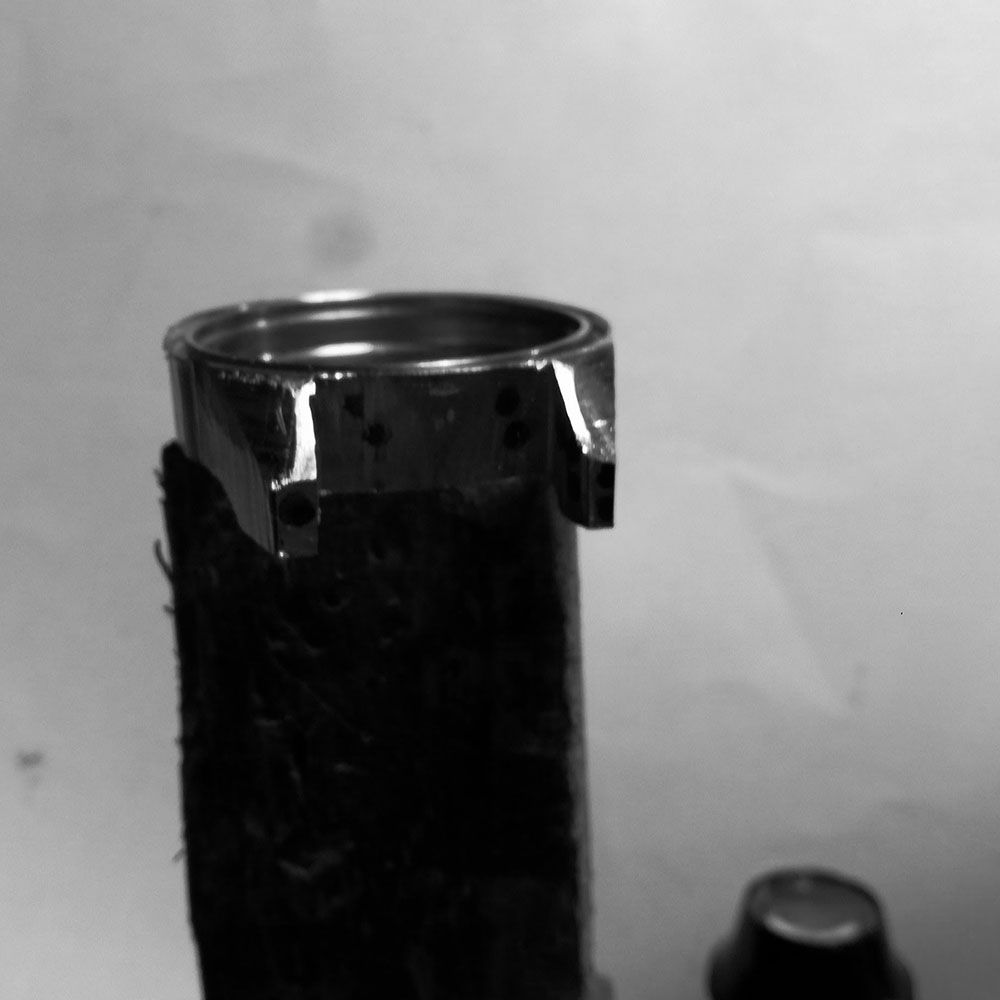
The case in a very rough milled out shape.
Further milling of case sides to reduce overall diameter.
Further rough milling of interior lug space.
Further milling of the case lug enterior.
Further milling of sides after more measurements are carried out.
End milling the space between lugs.
Further milling of lugs.
The three cases ready for further work.
The case placed and checked against a stencil and a coordinate drawing.
Further shaping of lugs.
Continued milling of lugs.
Three cases at different stages of production, here being turned to final case diameters.
Further fine milling of case sides.
Continued milling of case sides.
Milling out the square edge of the lug end.
Further milling of case end square lugs.
Other lugs receive same action.
For fine adjustments I use a series of hand files.
Case shape is being dressed by hand.
Arriving at a profile around the case sides.
This is then taken to the mill and final lug outline is performed.
Here I place the case on the lathe to draw a guide of the final diameter on back of the case.
Further milling to correct surfaces that are not at 90 degrees due to hand filing.
The case is ready for further adjustments.
Hand filing of the interior of the lug space.
Further filing.
The case ready to be turned.
The movement seating is turned.
English movements have three different resting points with varying depths that need to be considered and copied into the case.
The top of the movement seat is turned.
The movement seating turned after continuous checking of depths and diameters.
The movement is checked while on the late in order not to loose concentricity of the case as it's removal will change how it is cut the next time.
Here I am turning the top of the case 'lip' for the snap on bezel.
Further turning with specially shaped cutters. Due to the heat generated by stainless steel these cutters need very frequent resharpening during this operation.
The snap on bezel is nearly finished.
Turning the case back opening for the movement to size.
Turning complete.
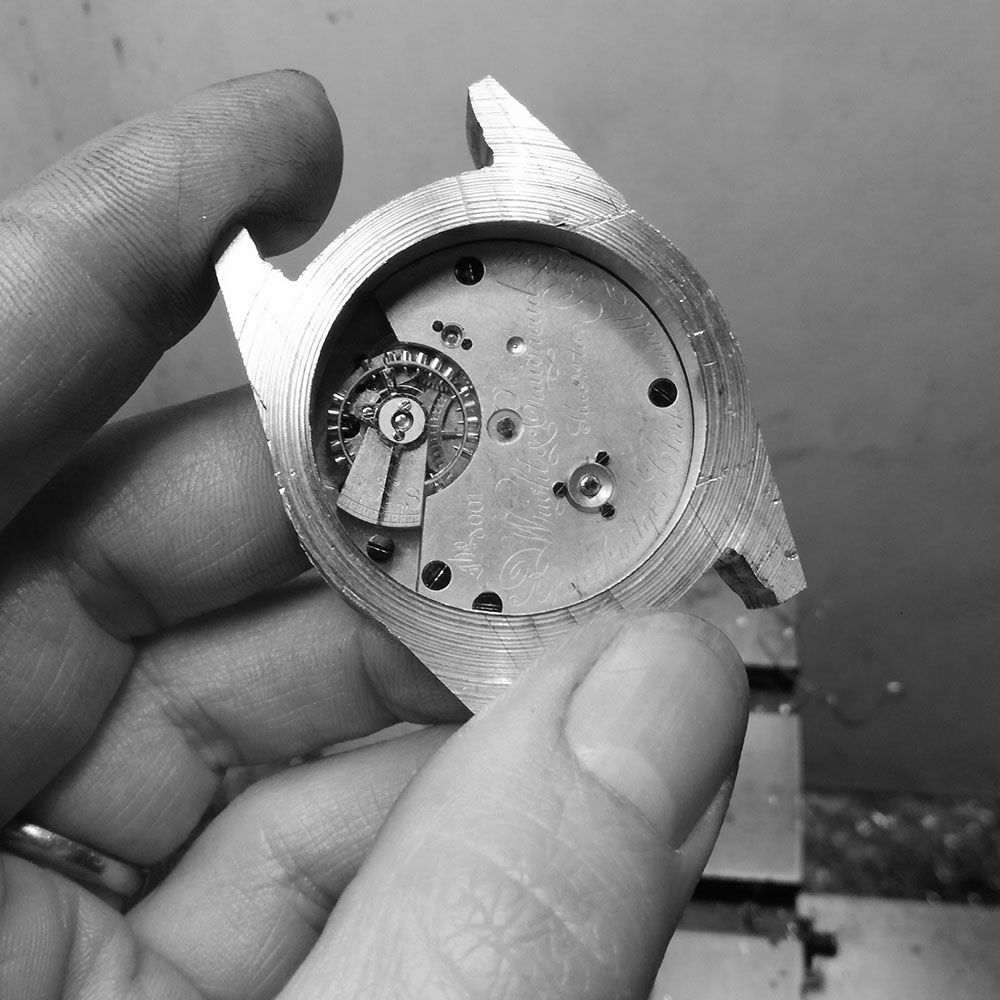
First view of movement from case back.
Turning down the case thickness.
The case back will be further addressed after the lugs are given final shape and the space for the see-through back crystal is turned.
The bezel is now treated.
Turning it down to 40mm size.
Turning close to final measurement.
This is what happens with stainless steel swarf gets caught in the chuck...
The back of the the bezel is ready for the next stage, which is the cutting of the snap on lip.
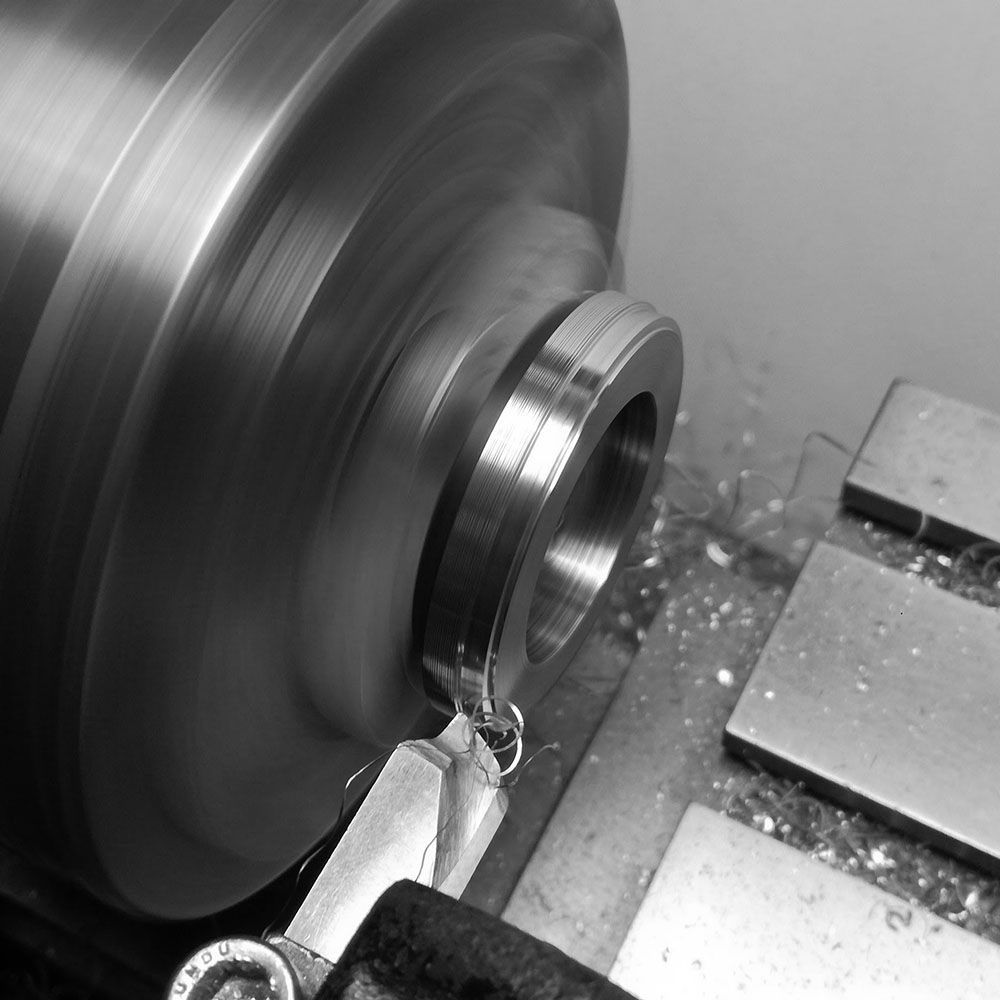
The outer portion of the bezel area opened up to accept the thickness of the bezel lip.
The internal lip is being cut.
Checking the fit on the case, this is at .20mm off from target diameter.
Further turning of internal lip on bezel.
Additional checking, at this point I will wait to take off another 100th of a millimeter until the final size of the bezel is turned as this has an impact on the flexibility of the piece. The thinner the bezel the more flexible.
Turning on the top lug profile is started.
This operation takes place over many small cuts as there is the risk of the case coming off the chuck and breaking.
Another risk is for the lugs to become distorted, so it is effected with many small short cuts.
Arriving at the angle.
Now cutting the case back general profile.
To be address further after other cuts take place.
Hand filing a flat band on the to of the lugs.
Turning the space for the crystal on the bezel.
Checking the fit of the crystal.
There is a snug fit.
Turning the general shape of the bezel, it will be left slightly oversize so that it can be handled by the chuck and not marred.
Turning a bevel.
Further marking of bevel.
Turning away the interior (it is still not to specs, but also left this way so that it is not damaged when placed in the chuck).
The bezel is reversed and continued to be turned.
Checking the bezel on the case.
In order to further machine the bezel, I make an aluminum ring to hold the bezel in the chuck, and thus not score it.
Further turning the holding ring.
Ring is turned to diameter.
Ring is placed on the outside of the bezel.
Turning the bezel interior.
Grinding the case lugs.
Further finishing of exterior required.
Turning the snap on lip on the front of the case.
Turning the back of the case.
Turning the bottom profile of the lugs more. This will be reduced further to make the watch thinner.
The case in an intermediate stage.
Using the grinder and pivoting table to profile the lugs.
Cleaning the interior portion of the lugs.
Further work on the bezel profile.
Finishing the interior snap on lip of the bezel.
Polishing the interior rehaut of the dial area.
Further turning of interior area of bezel.
A lot of dial space to create a sense of volume.
A look at the back.
Proceeding to turn the back glass seating.
Turning.
Testing the glass. It will be turned further to allow space for the o-ring.
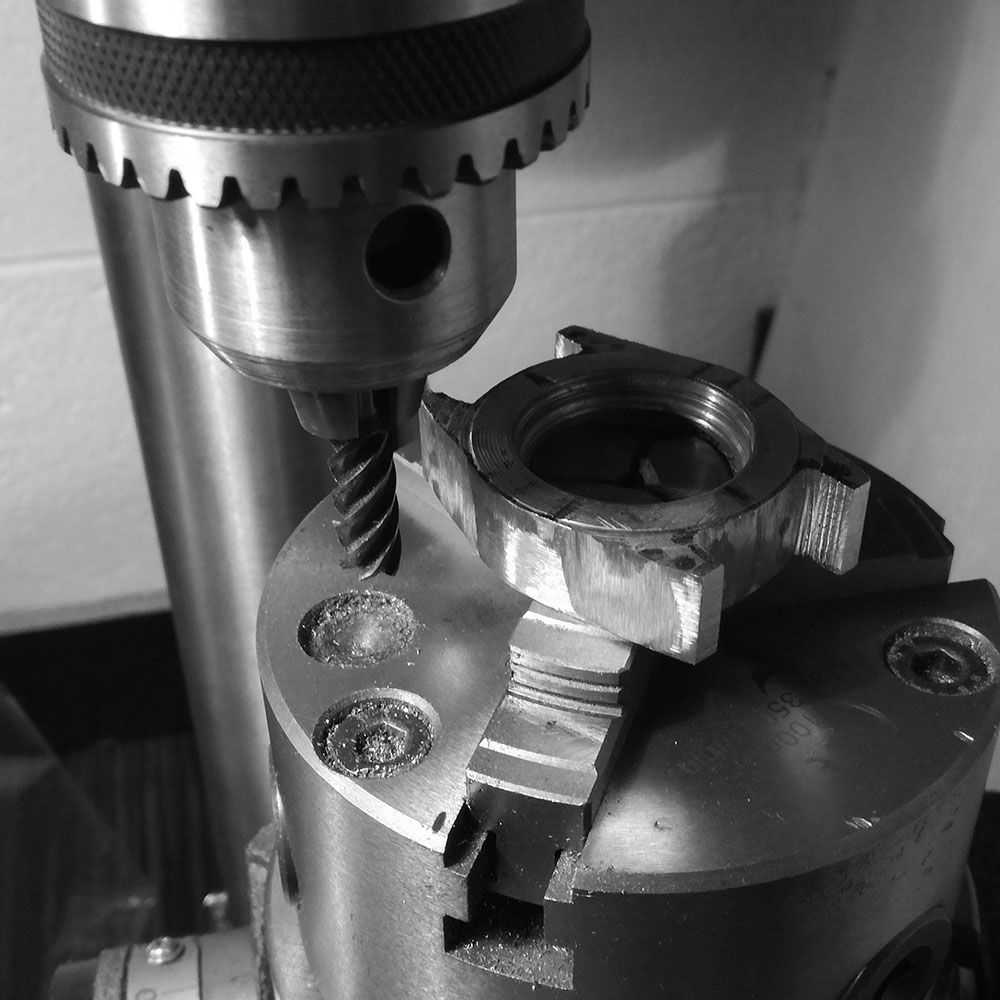
Taking measurements of the winding ratchet to drill the stem hole.
Marking out the depth of the stem.
Drilling the stem hole is done with progressively larger diameter bits.
Further drilling.
Finished drilling.
Starting the crown with a solid steel 316L rod.
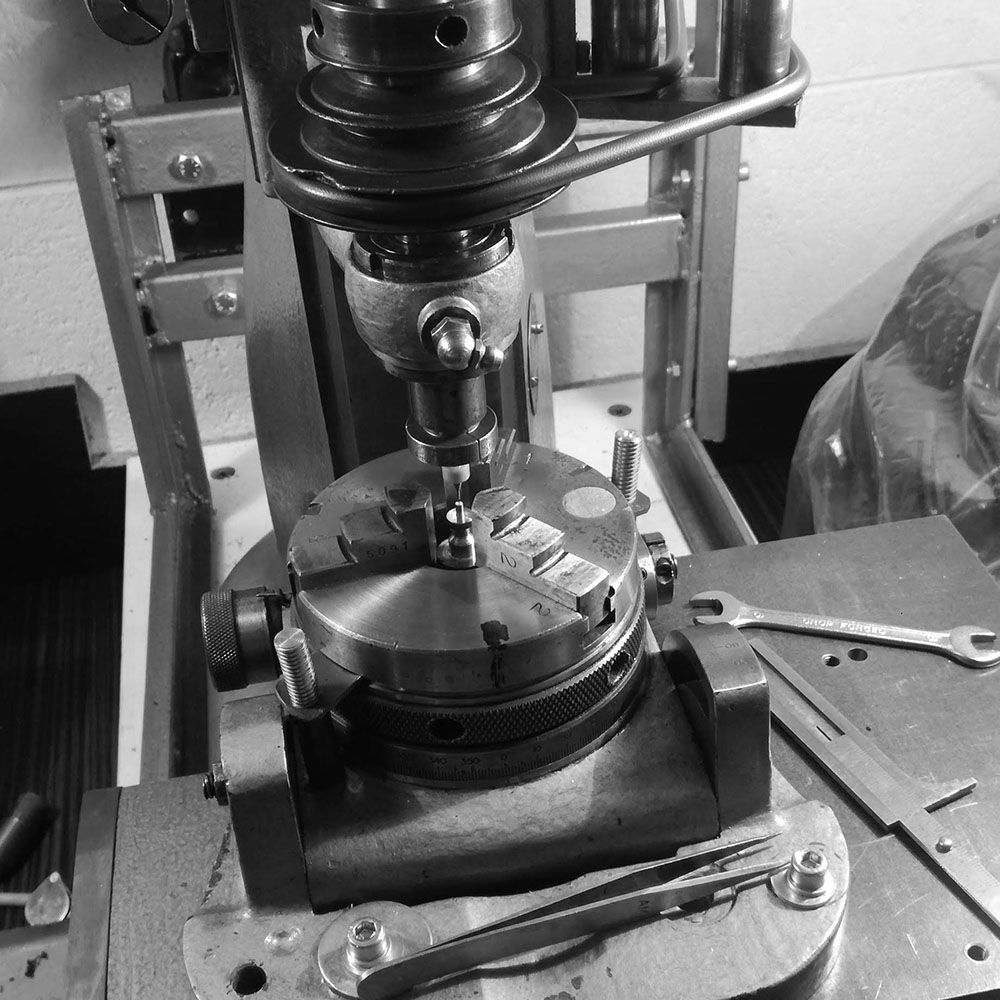
A portion of the rod was cut, and a center hole is marked with the jig borer.
Arriving to the center of the hole via the centering scope cross-hairs.
Turning the stem portion that rests inside the case.
Portion is turned.
Using the knurling tool to give a straight grip to the crown.
The right most area is the one that will be used.
Turning the conical end of the crown.
Further drilling of the crown stem tube.
Here I place the crown and I am tapping the thread for the stem.
After that operation, I check the fit with the case.
I part the crown off.
Stem parted and temporary finish given to the end, I will give it a snailling finish so that it resembles the ratchet wheels on the dial.
Crown in situ.