The top of the mainplate, of the disassembled movement. It has a ruby at the center wheel, which is rare for an English watch. This is clearly a Continental influence of Zimmerman.
Bottom of the 3/4 plate.
Underside of the mainplate. Showing rust, lots of dirt and discoloration.
Mainspring barrel with Geneva safety stop.
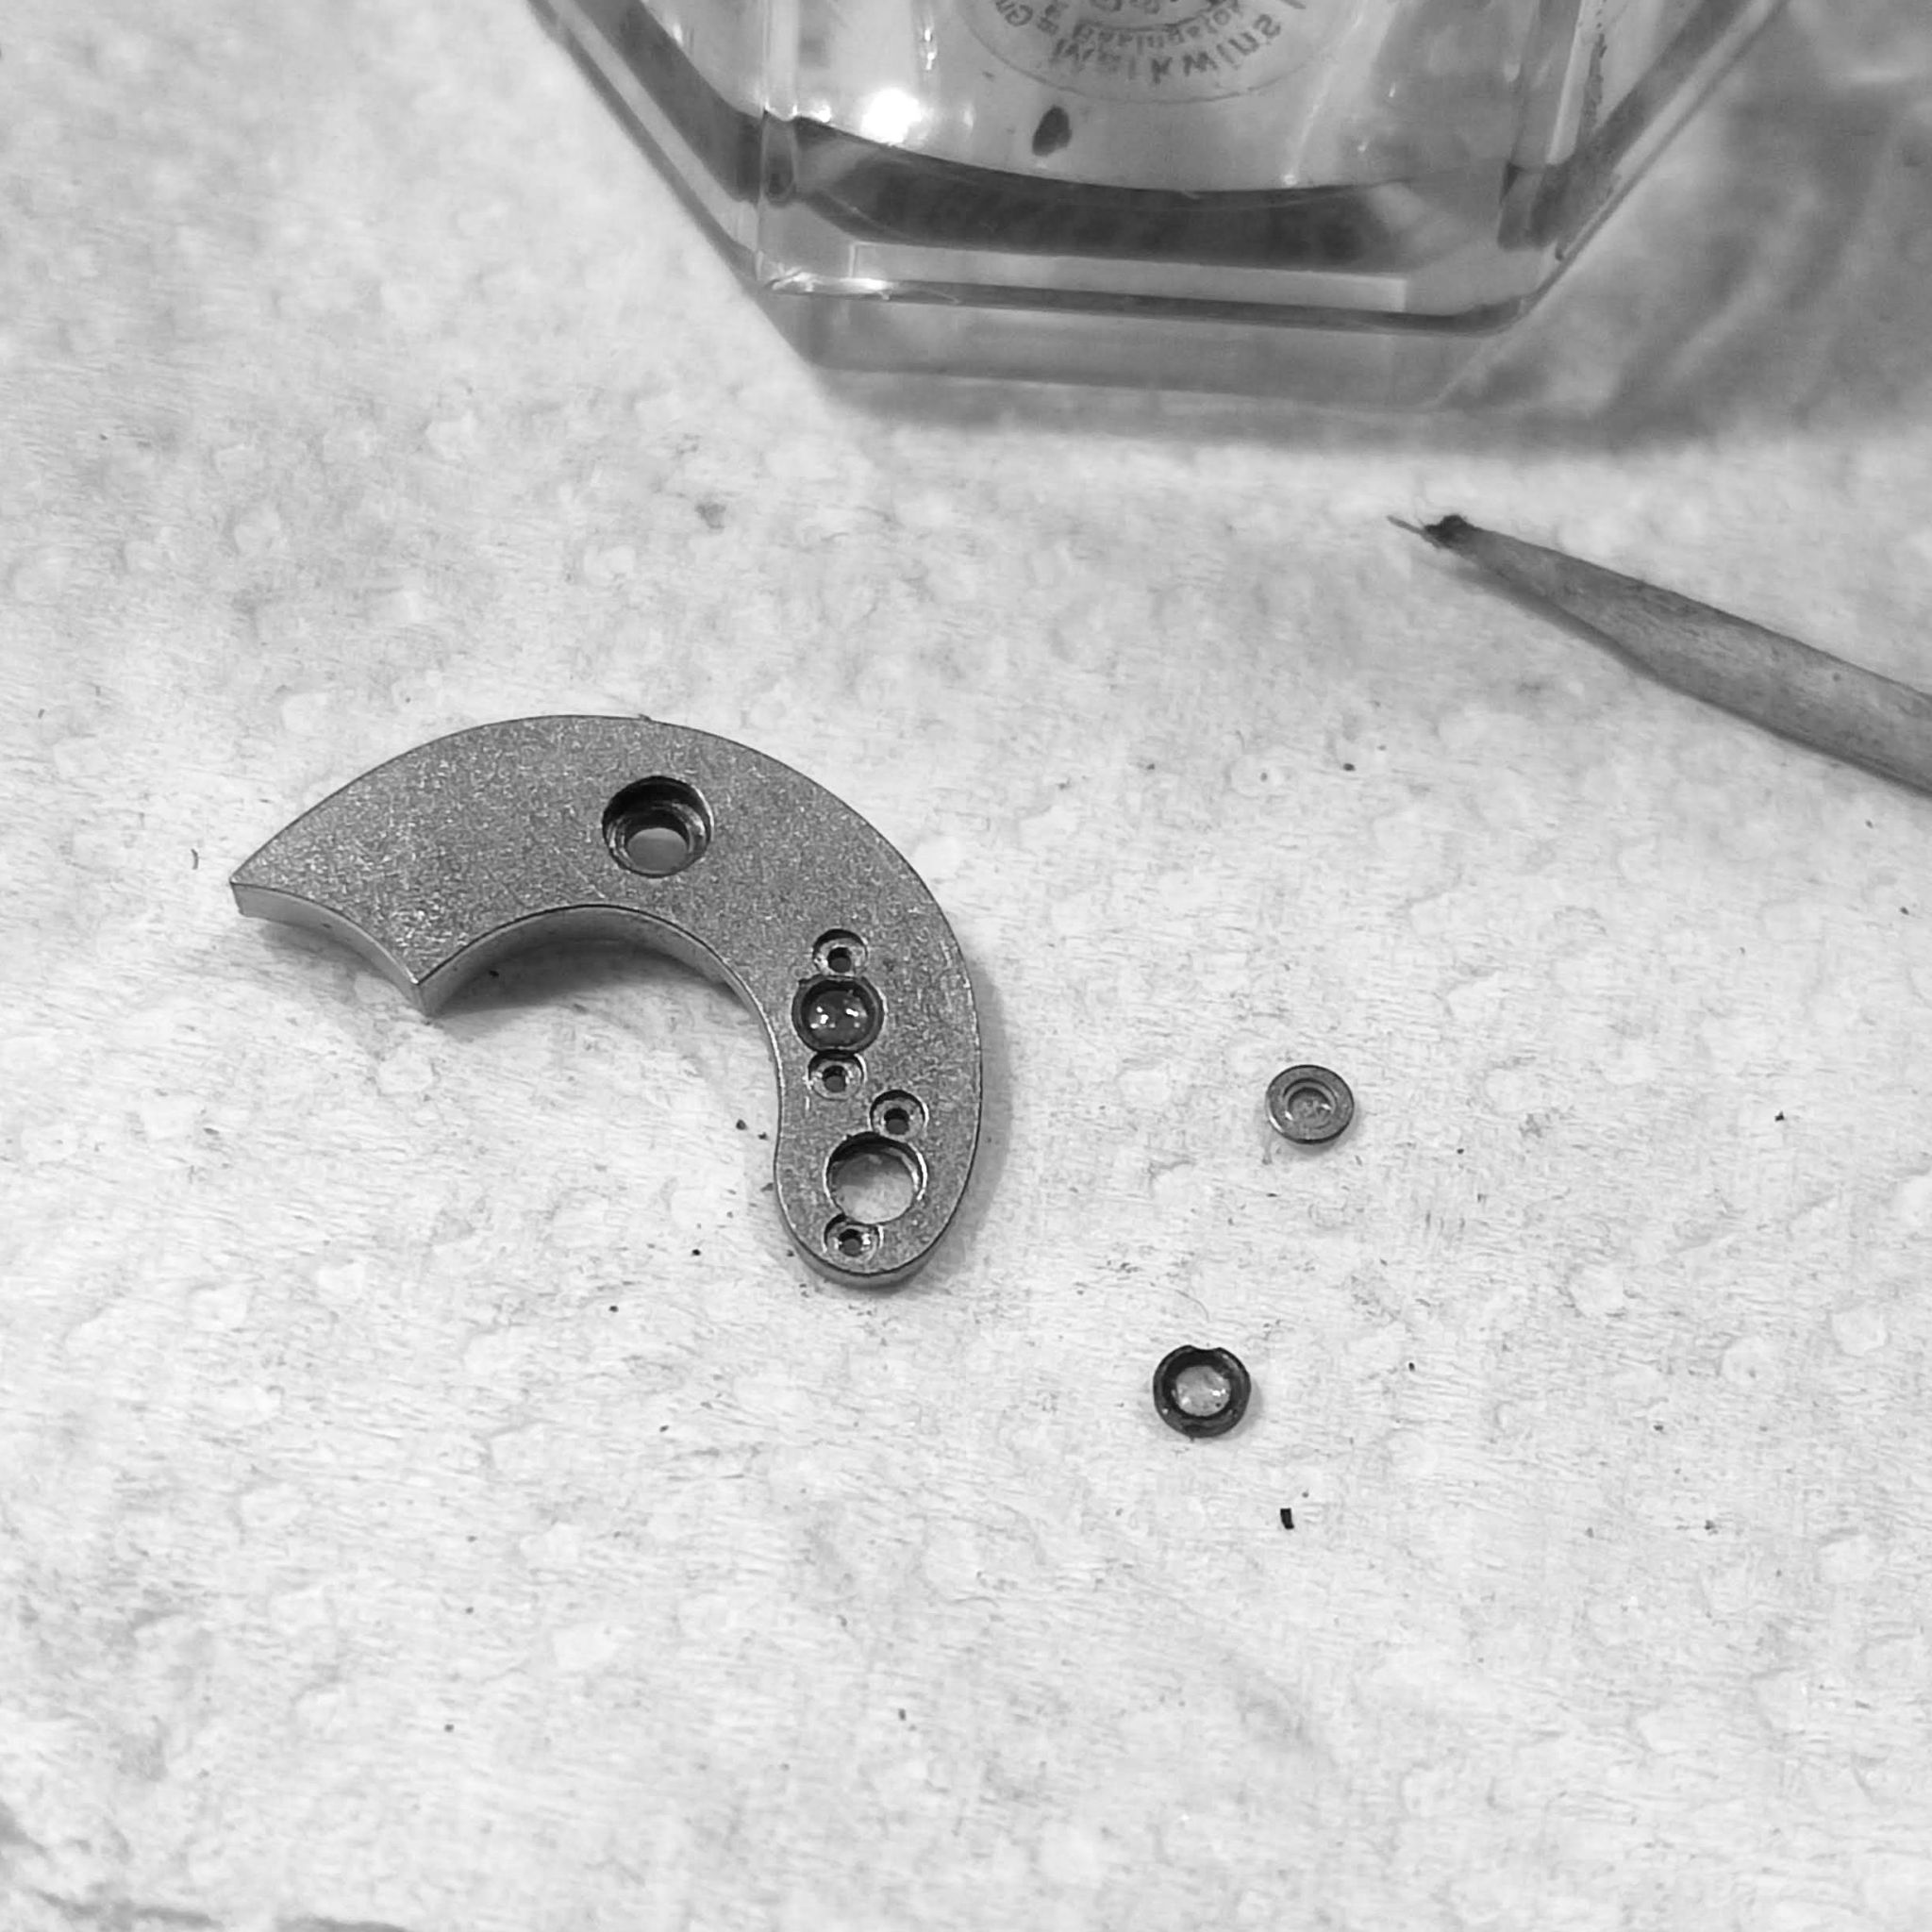
The main problem identified so far, is a broken escape lever pivot. The safety roller spigot on the bottom right is purely Continental tradition.
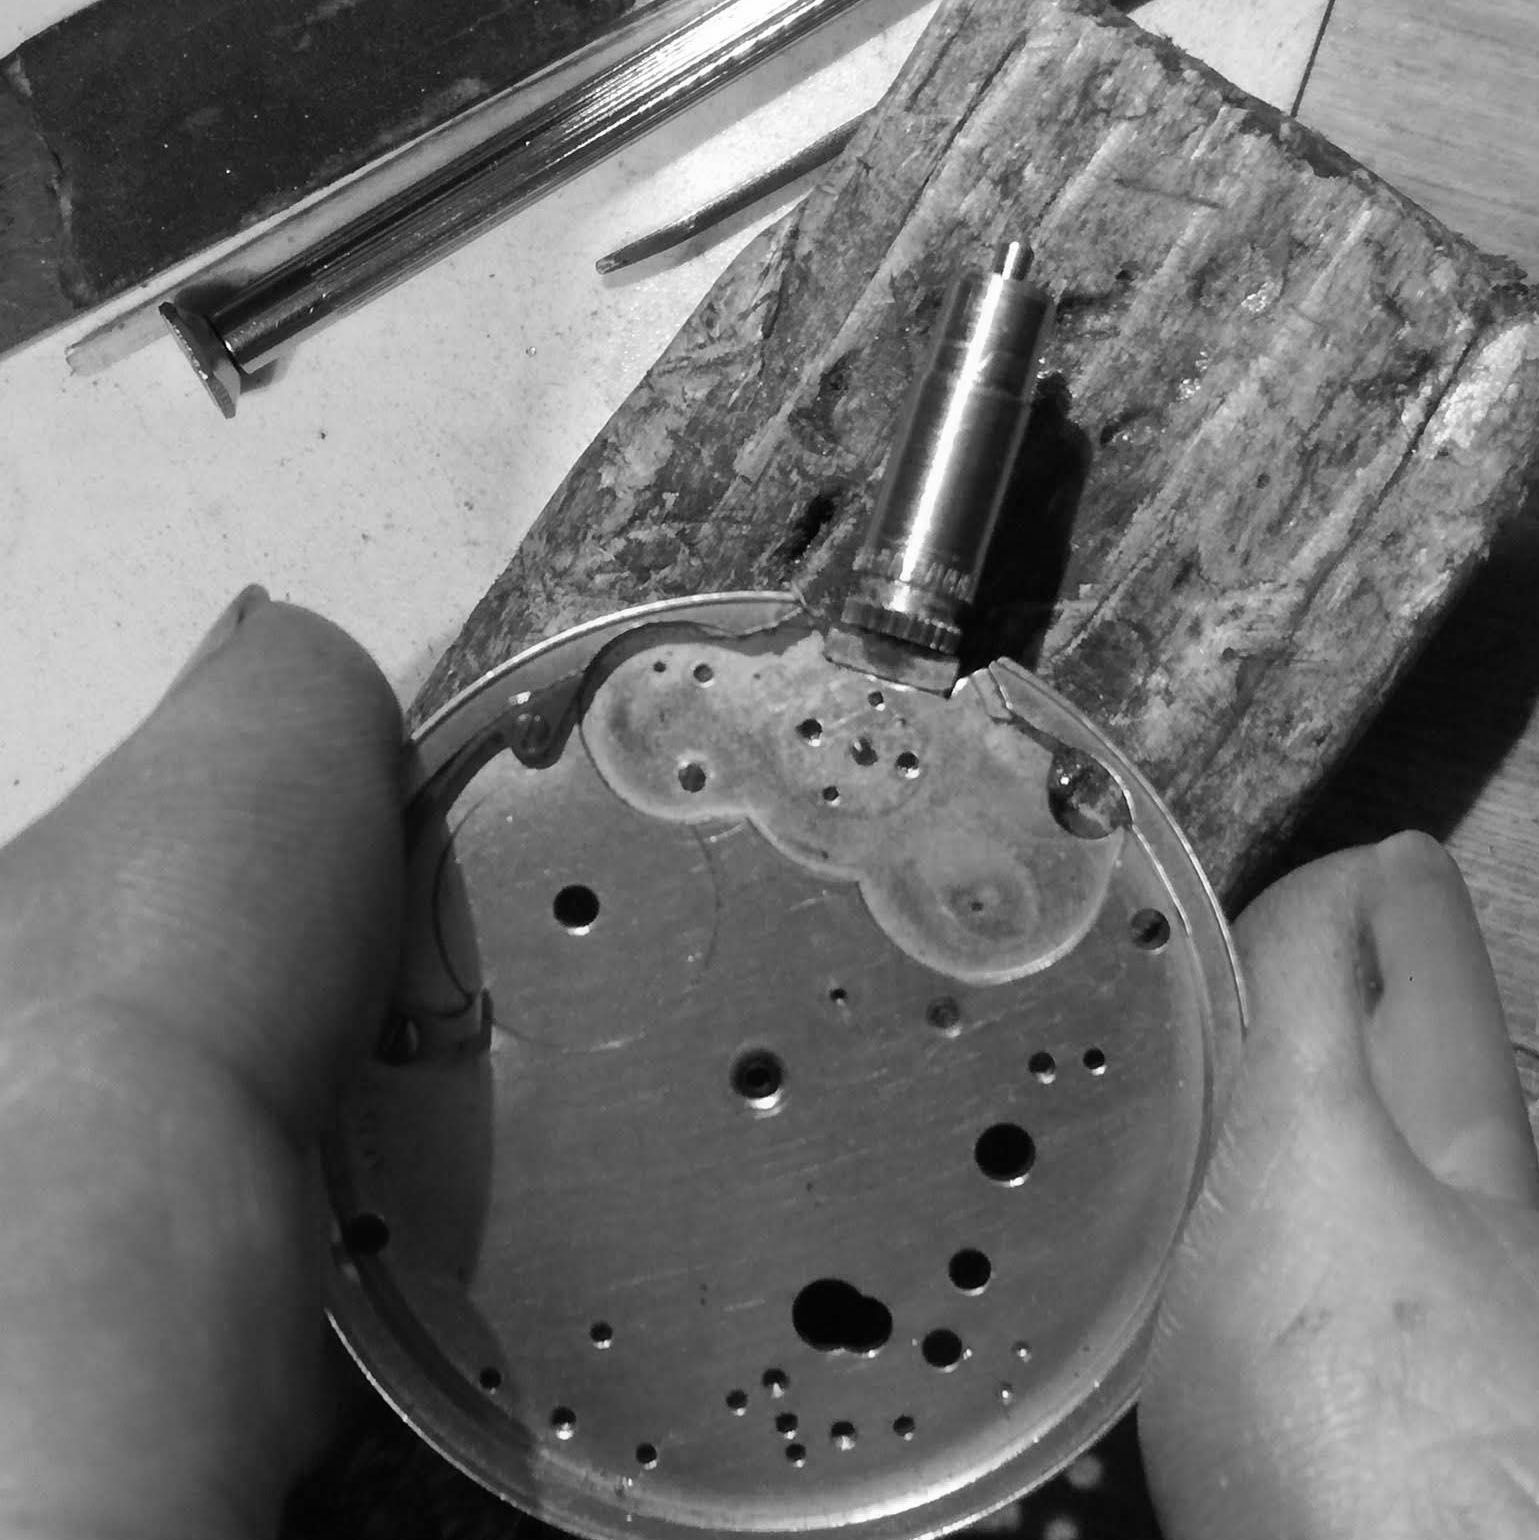
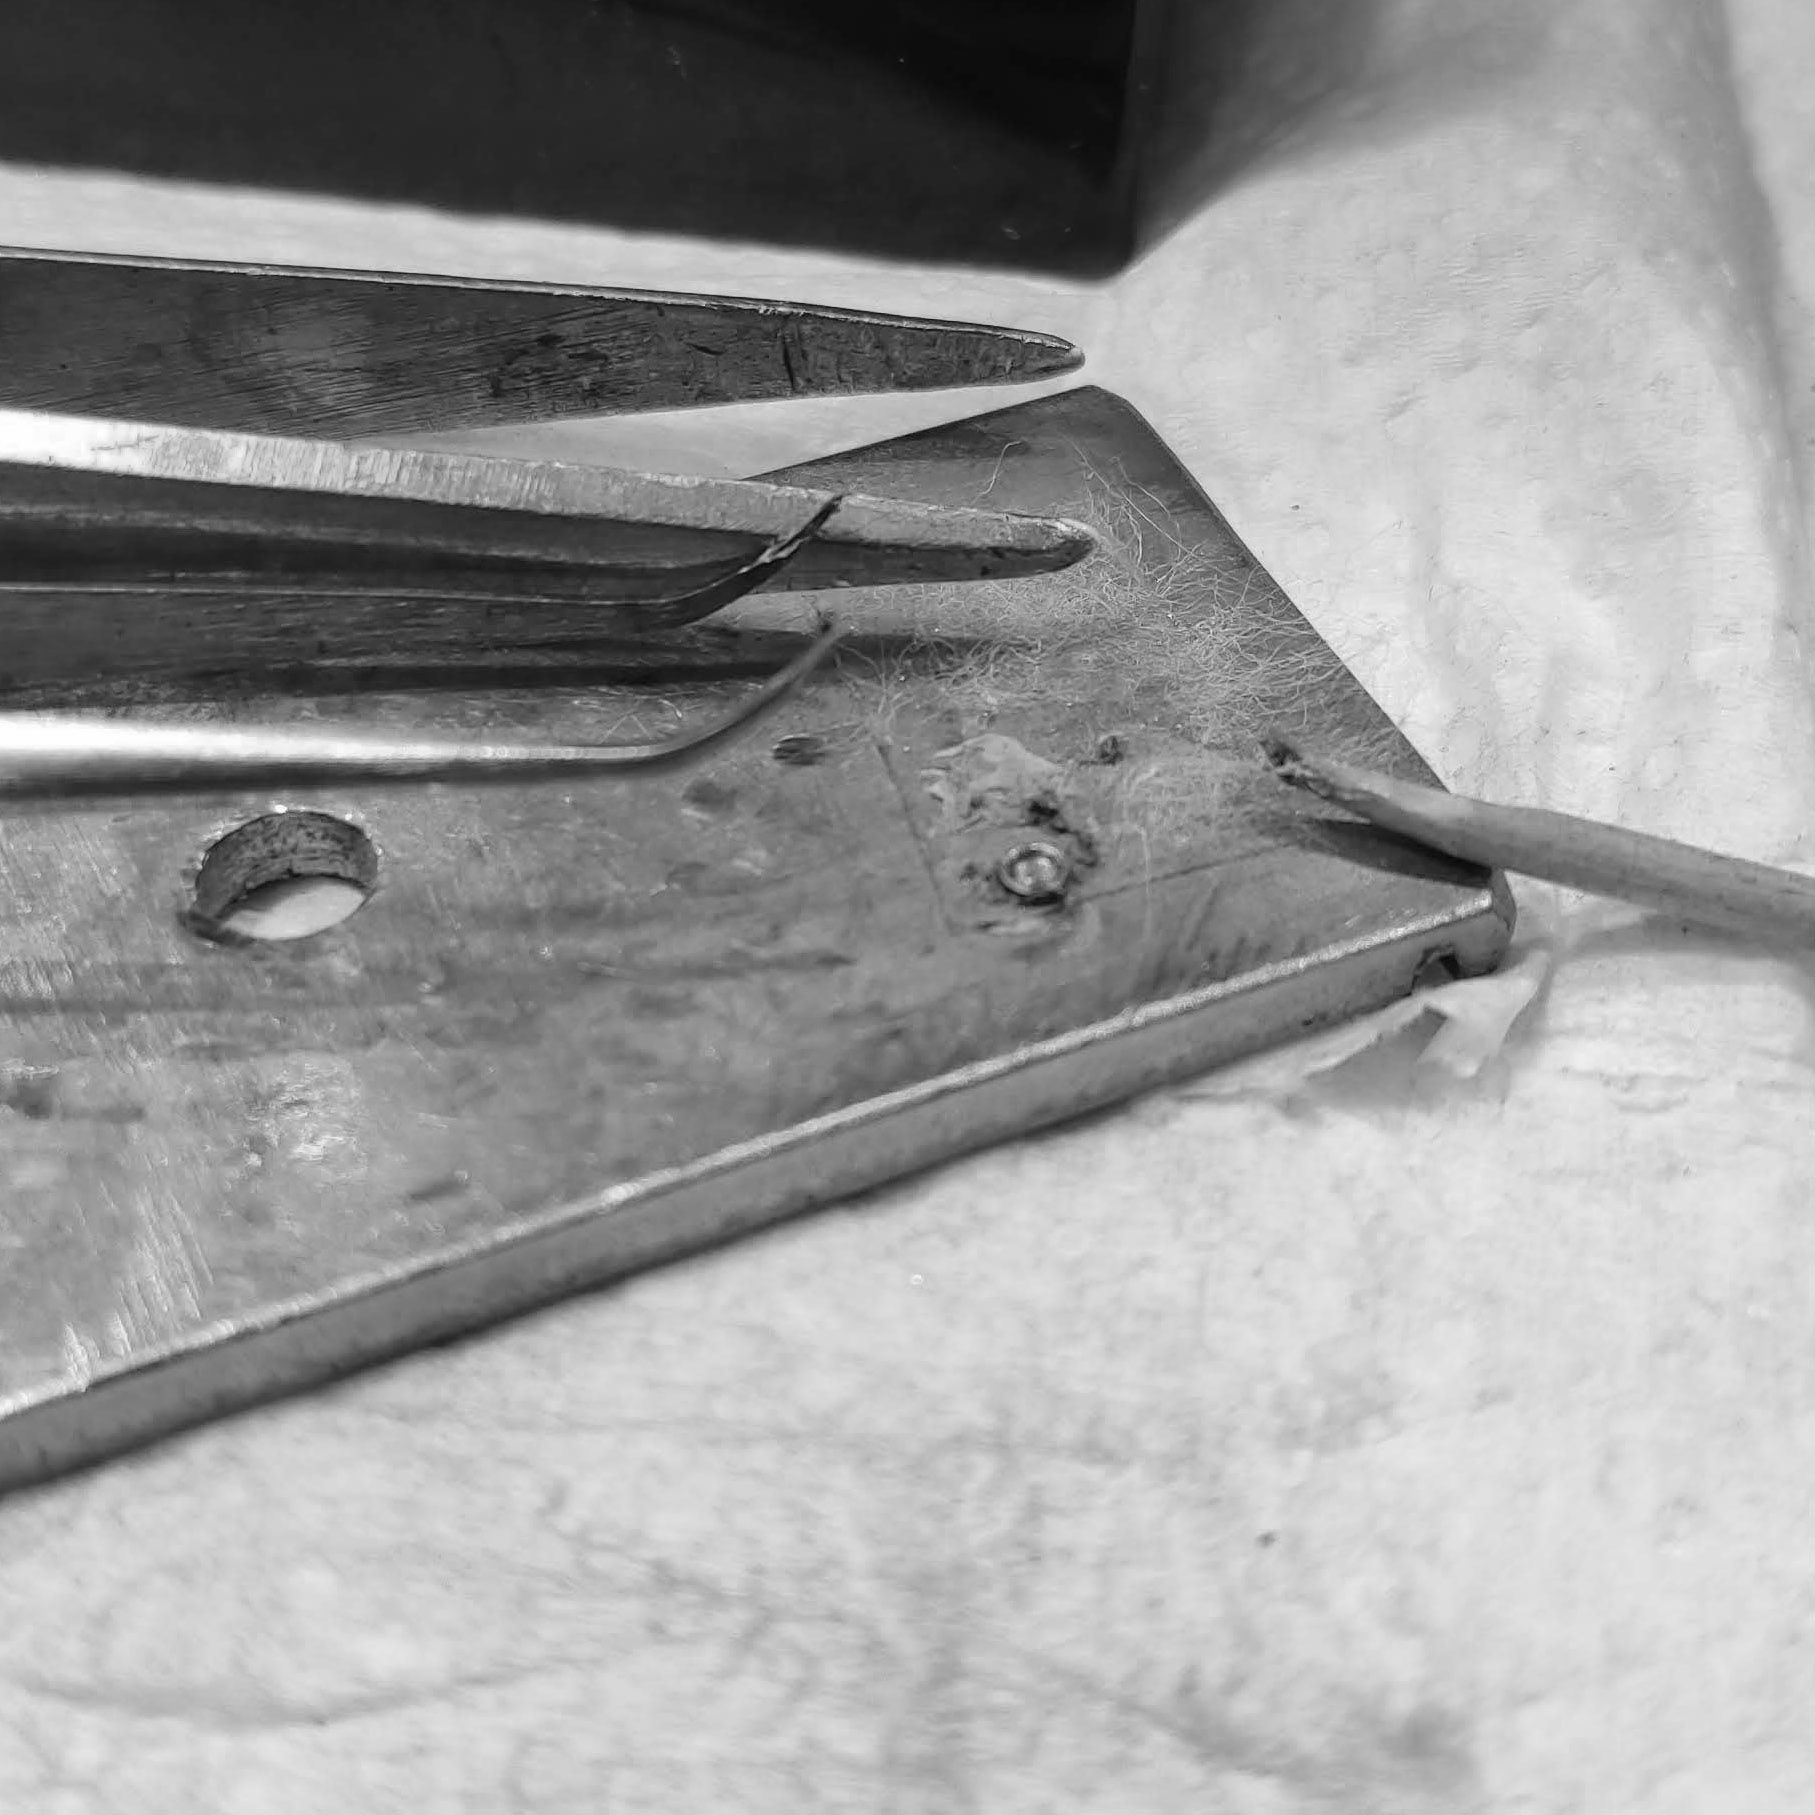
Removing the broken staff on the escape lever.
Result of removal.
Turning a new staff by hand.
Installed the new staff, checking the height and engagement with the escape lever teeth.
The movement started to run, but sluggishly (it has not been cleaned, it is an initial test).
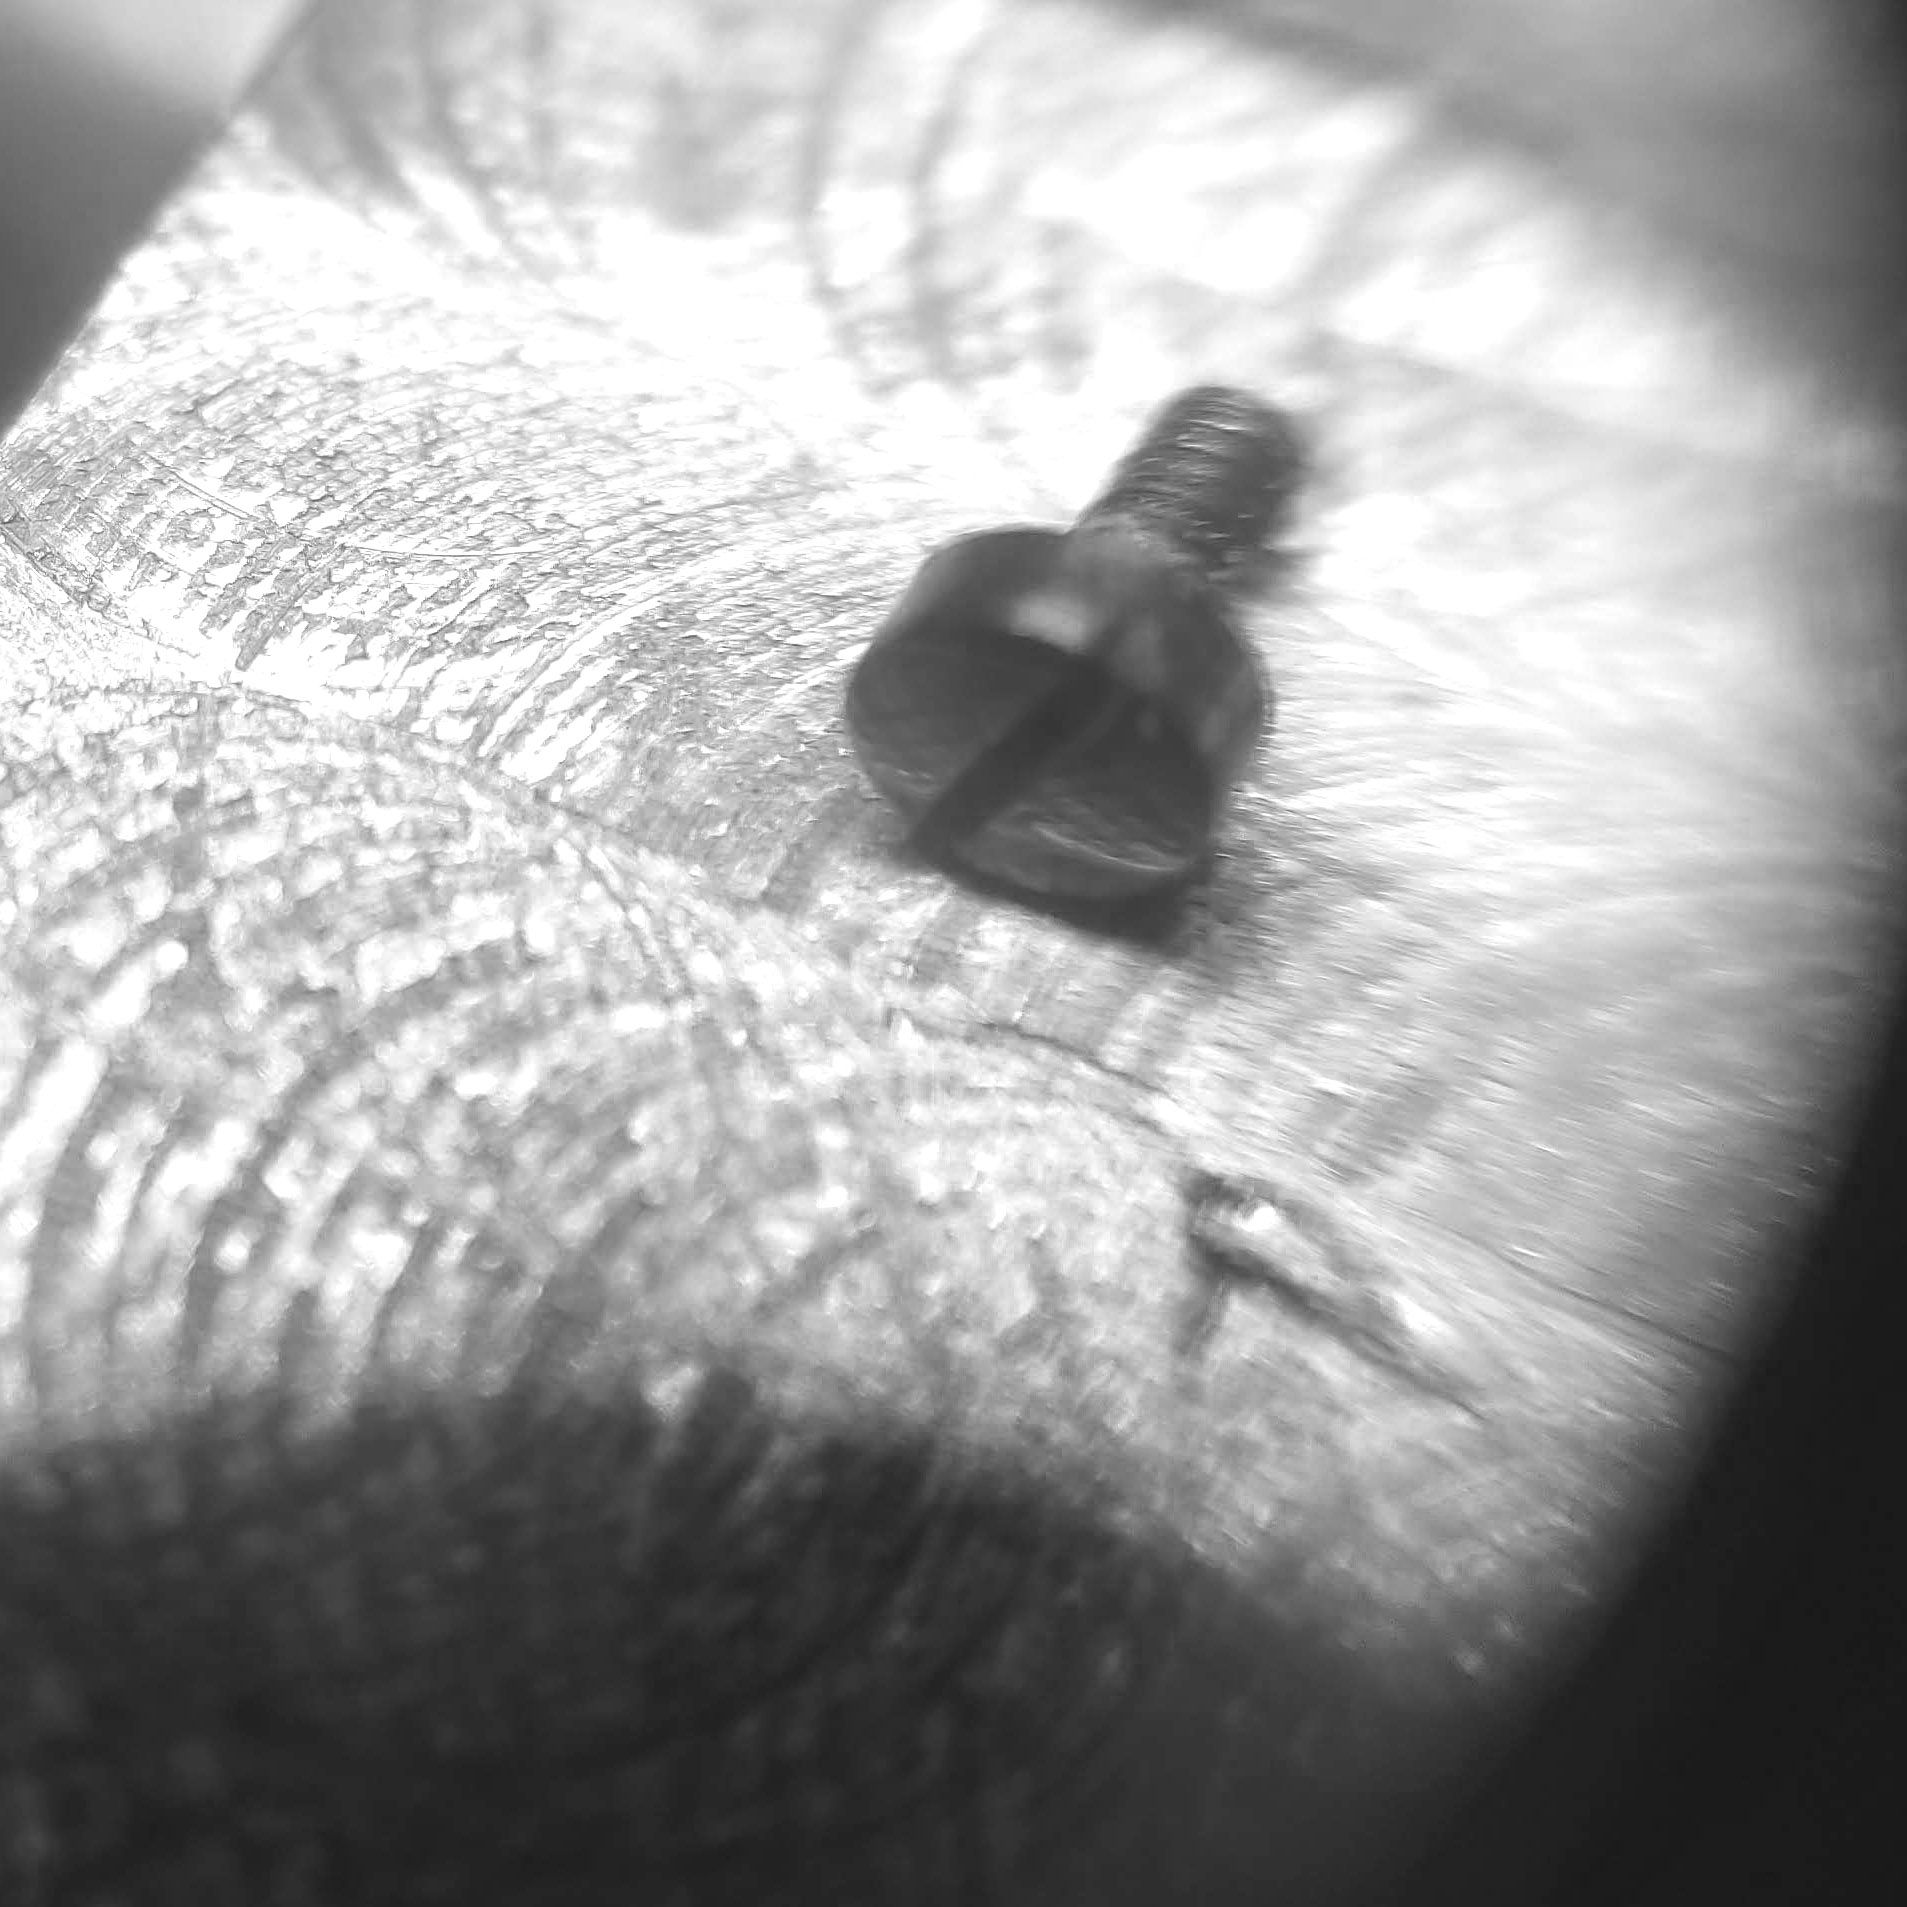
The pivot on the escape lever is burnished, and brought to correct length.
This is done looking through a microscope, in order to get a good sense of the work on the shape of the pivot.
I made a custom fly cutter to machine the winding stem prototype.
Here I am making an index plate to be fitted to the lathe tailstock in order to cut the correct number of teeth.
Index plate fitted to the back of the tailstock, and the test winding stem cut.
I am using a topping up tool to bring the correct tooth shape for the winding stem.
Test piece in brass.
Here I am drilling a hole on the winding stem holding block that will go onto the underside of the movement.
Drilling through the tool steel sheet that will be used for the stem holding block.
Using the Aciera F3 milling machine to cut the profile and shape of the holding block.
Milling the shape and contour (piece is approx 8mm by 4mm
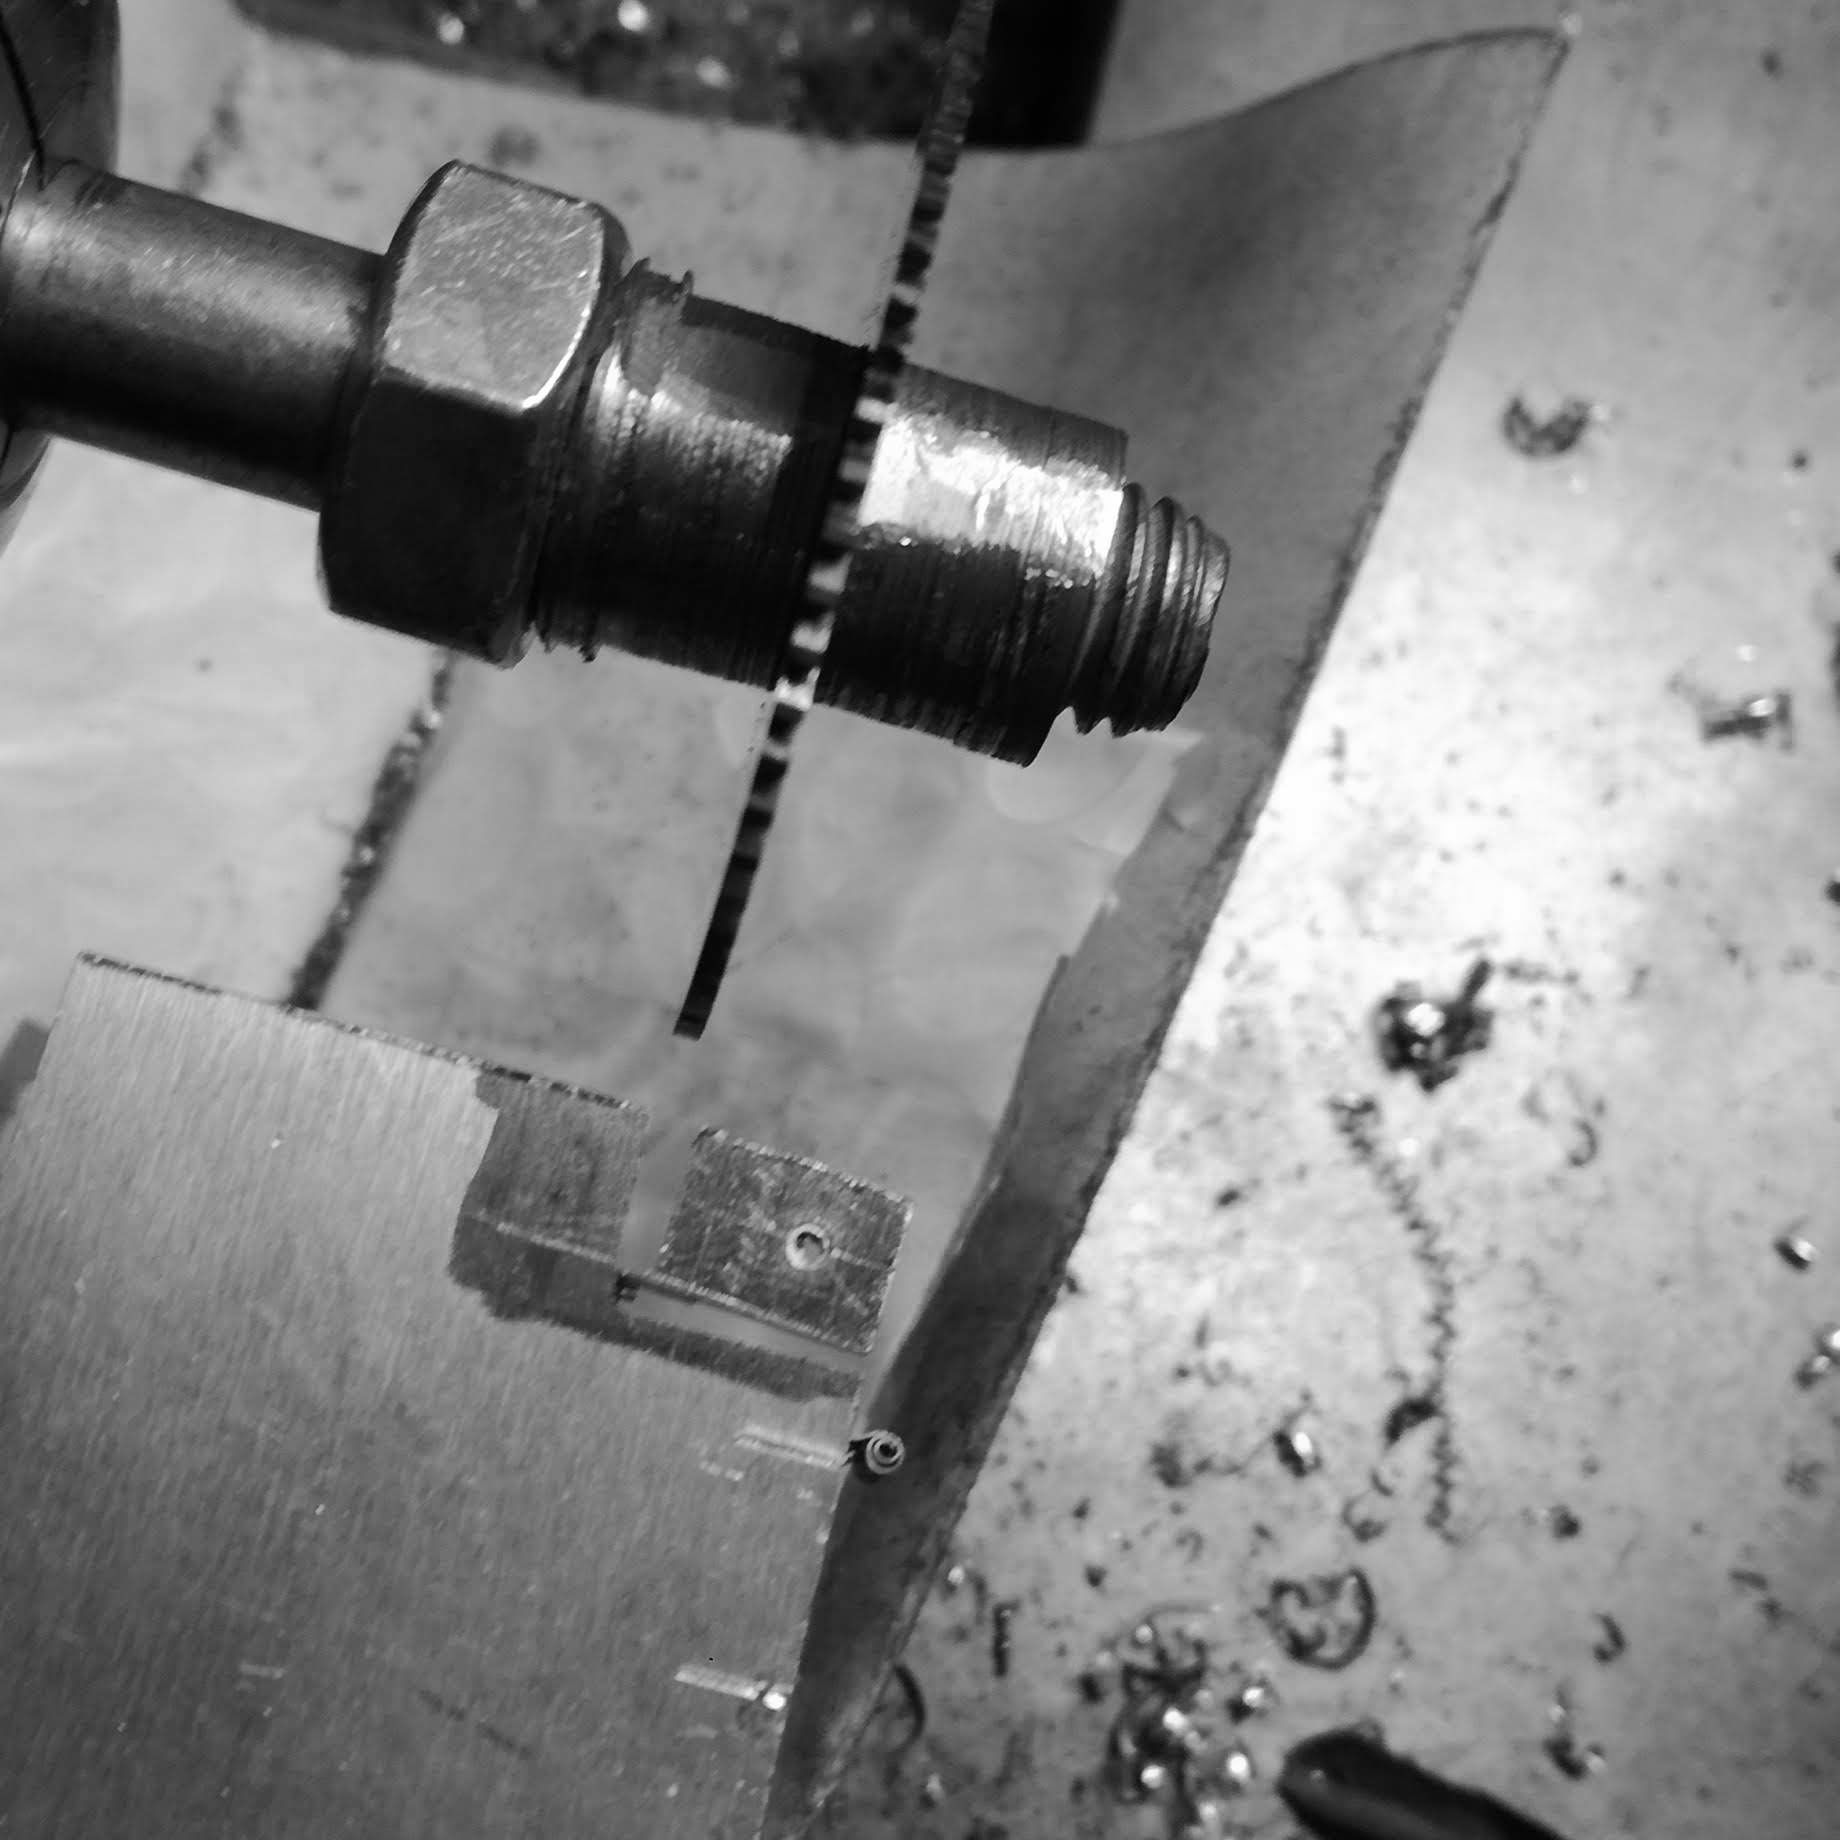
Cutting the part off with the slitting saw on the lathe.
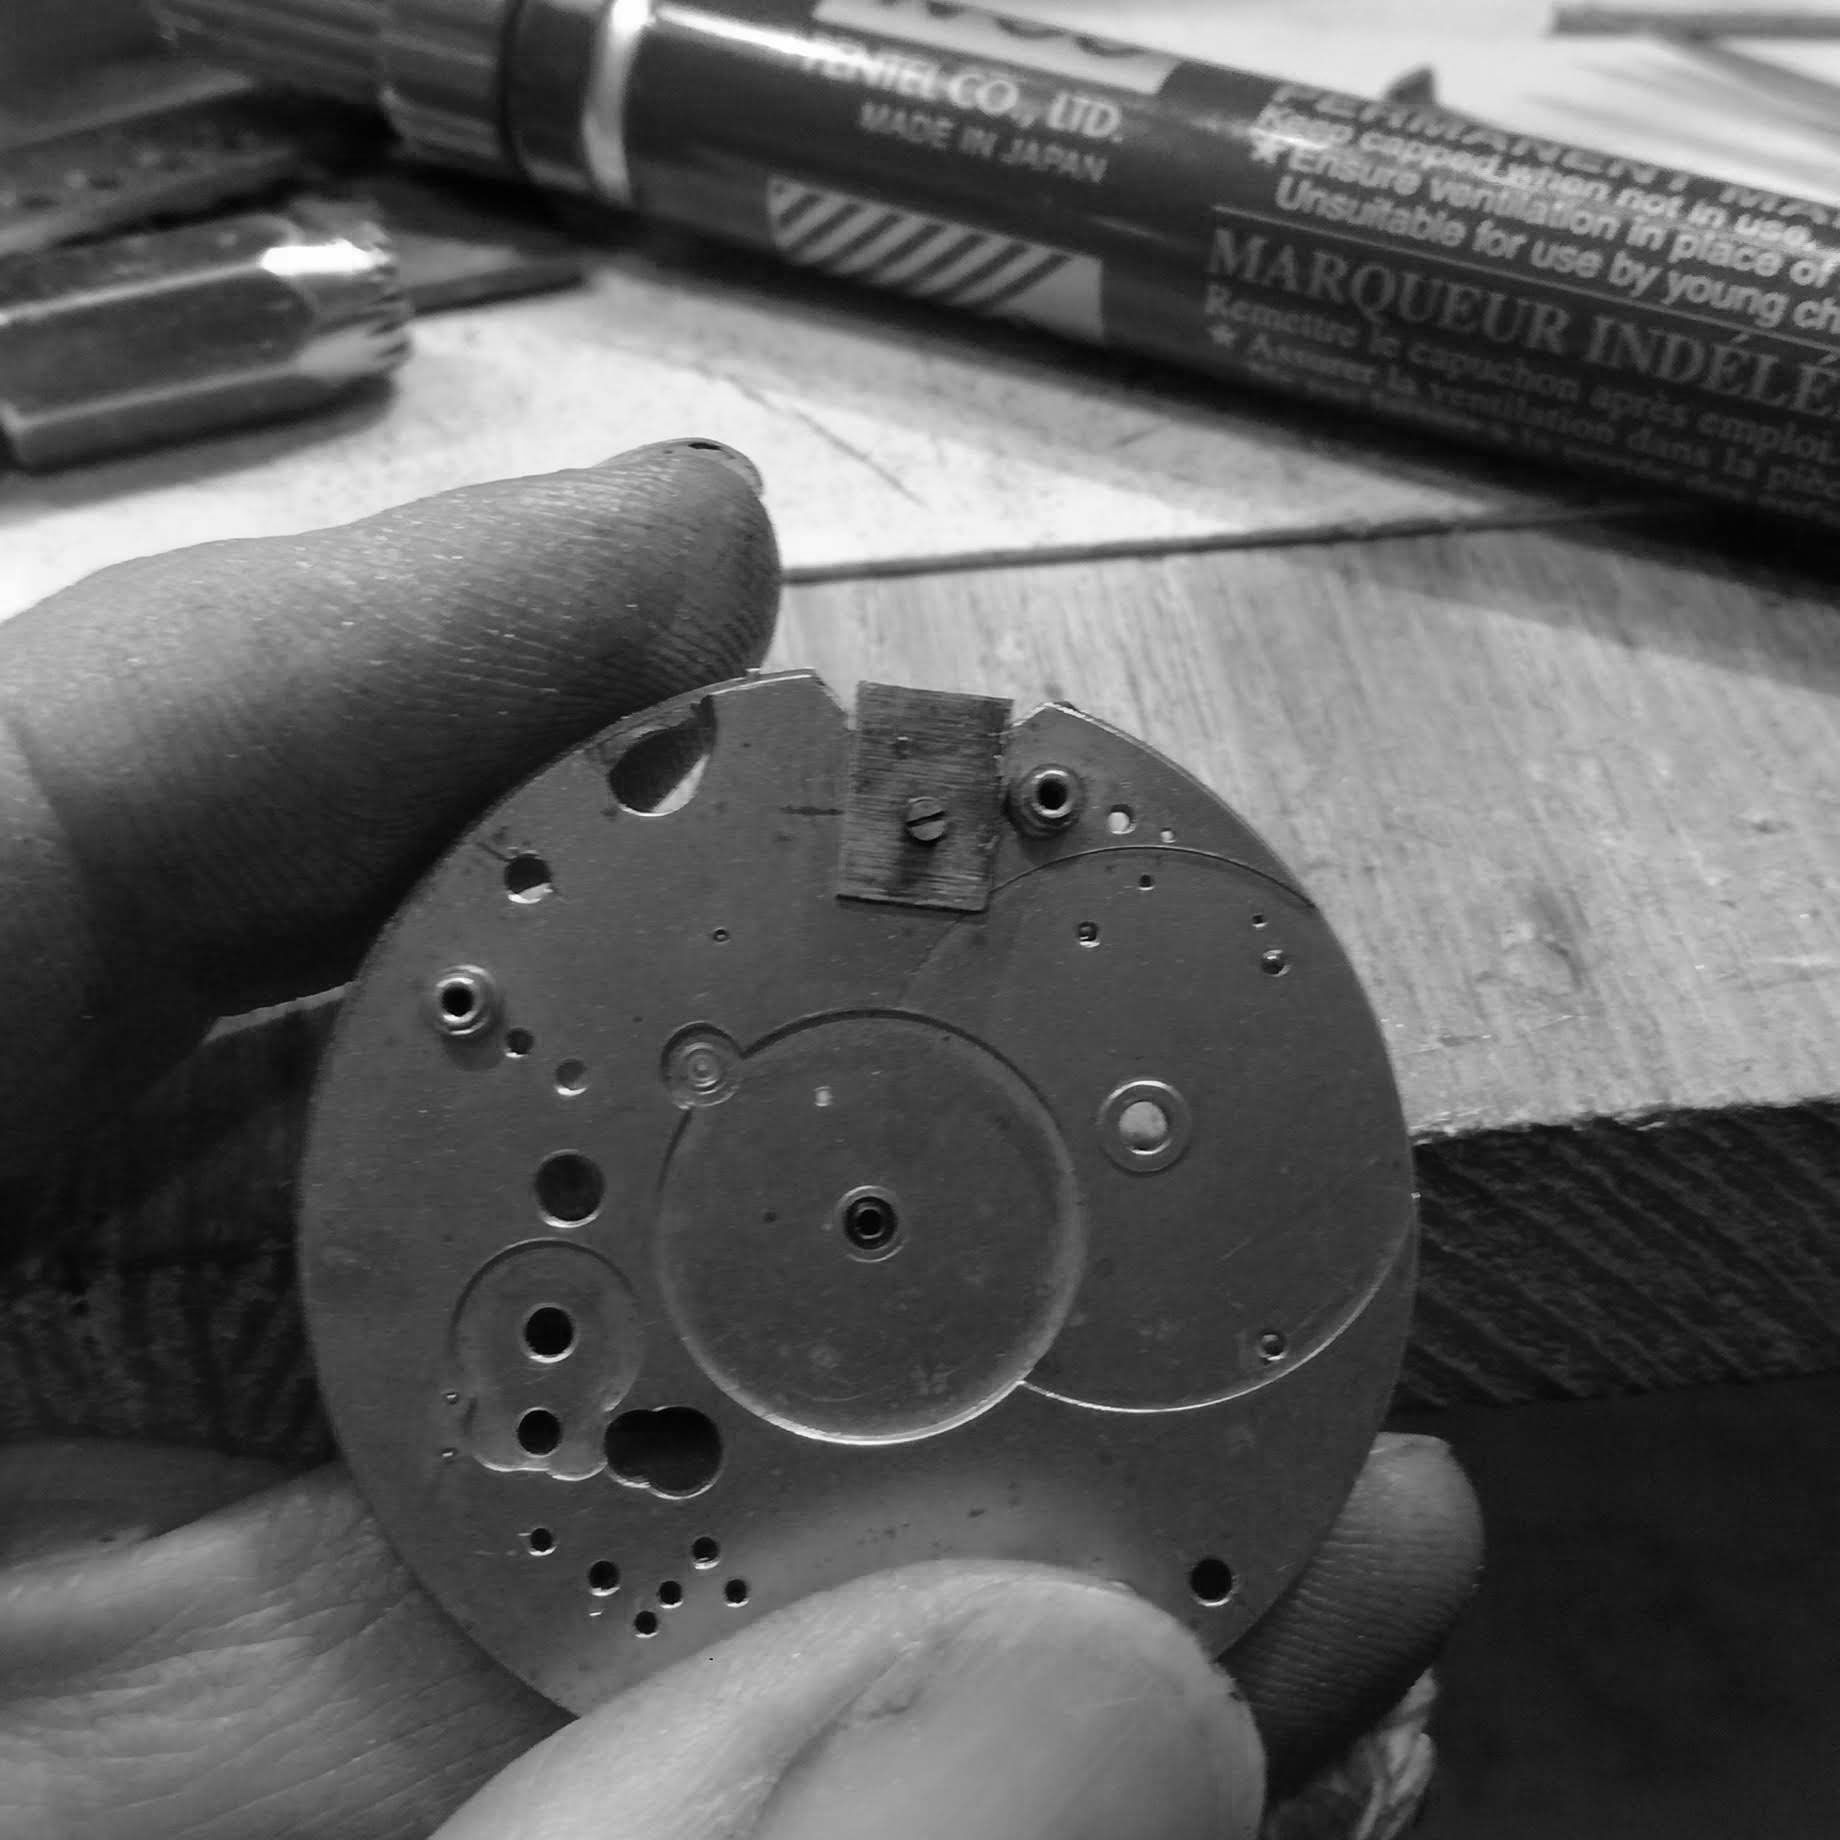
Part positioned on the movement.
Drilling a hole on the holding block and movement for the locating pin.
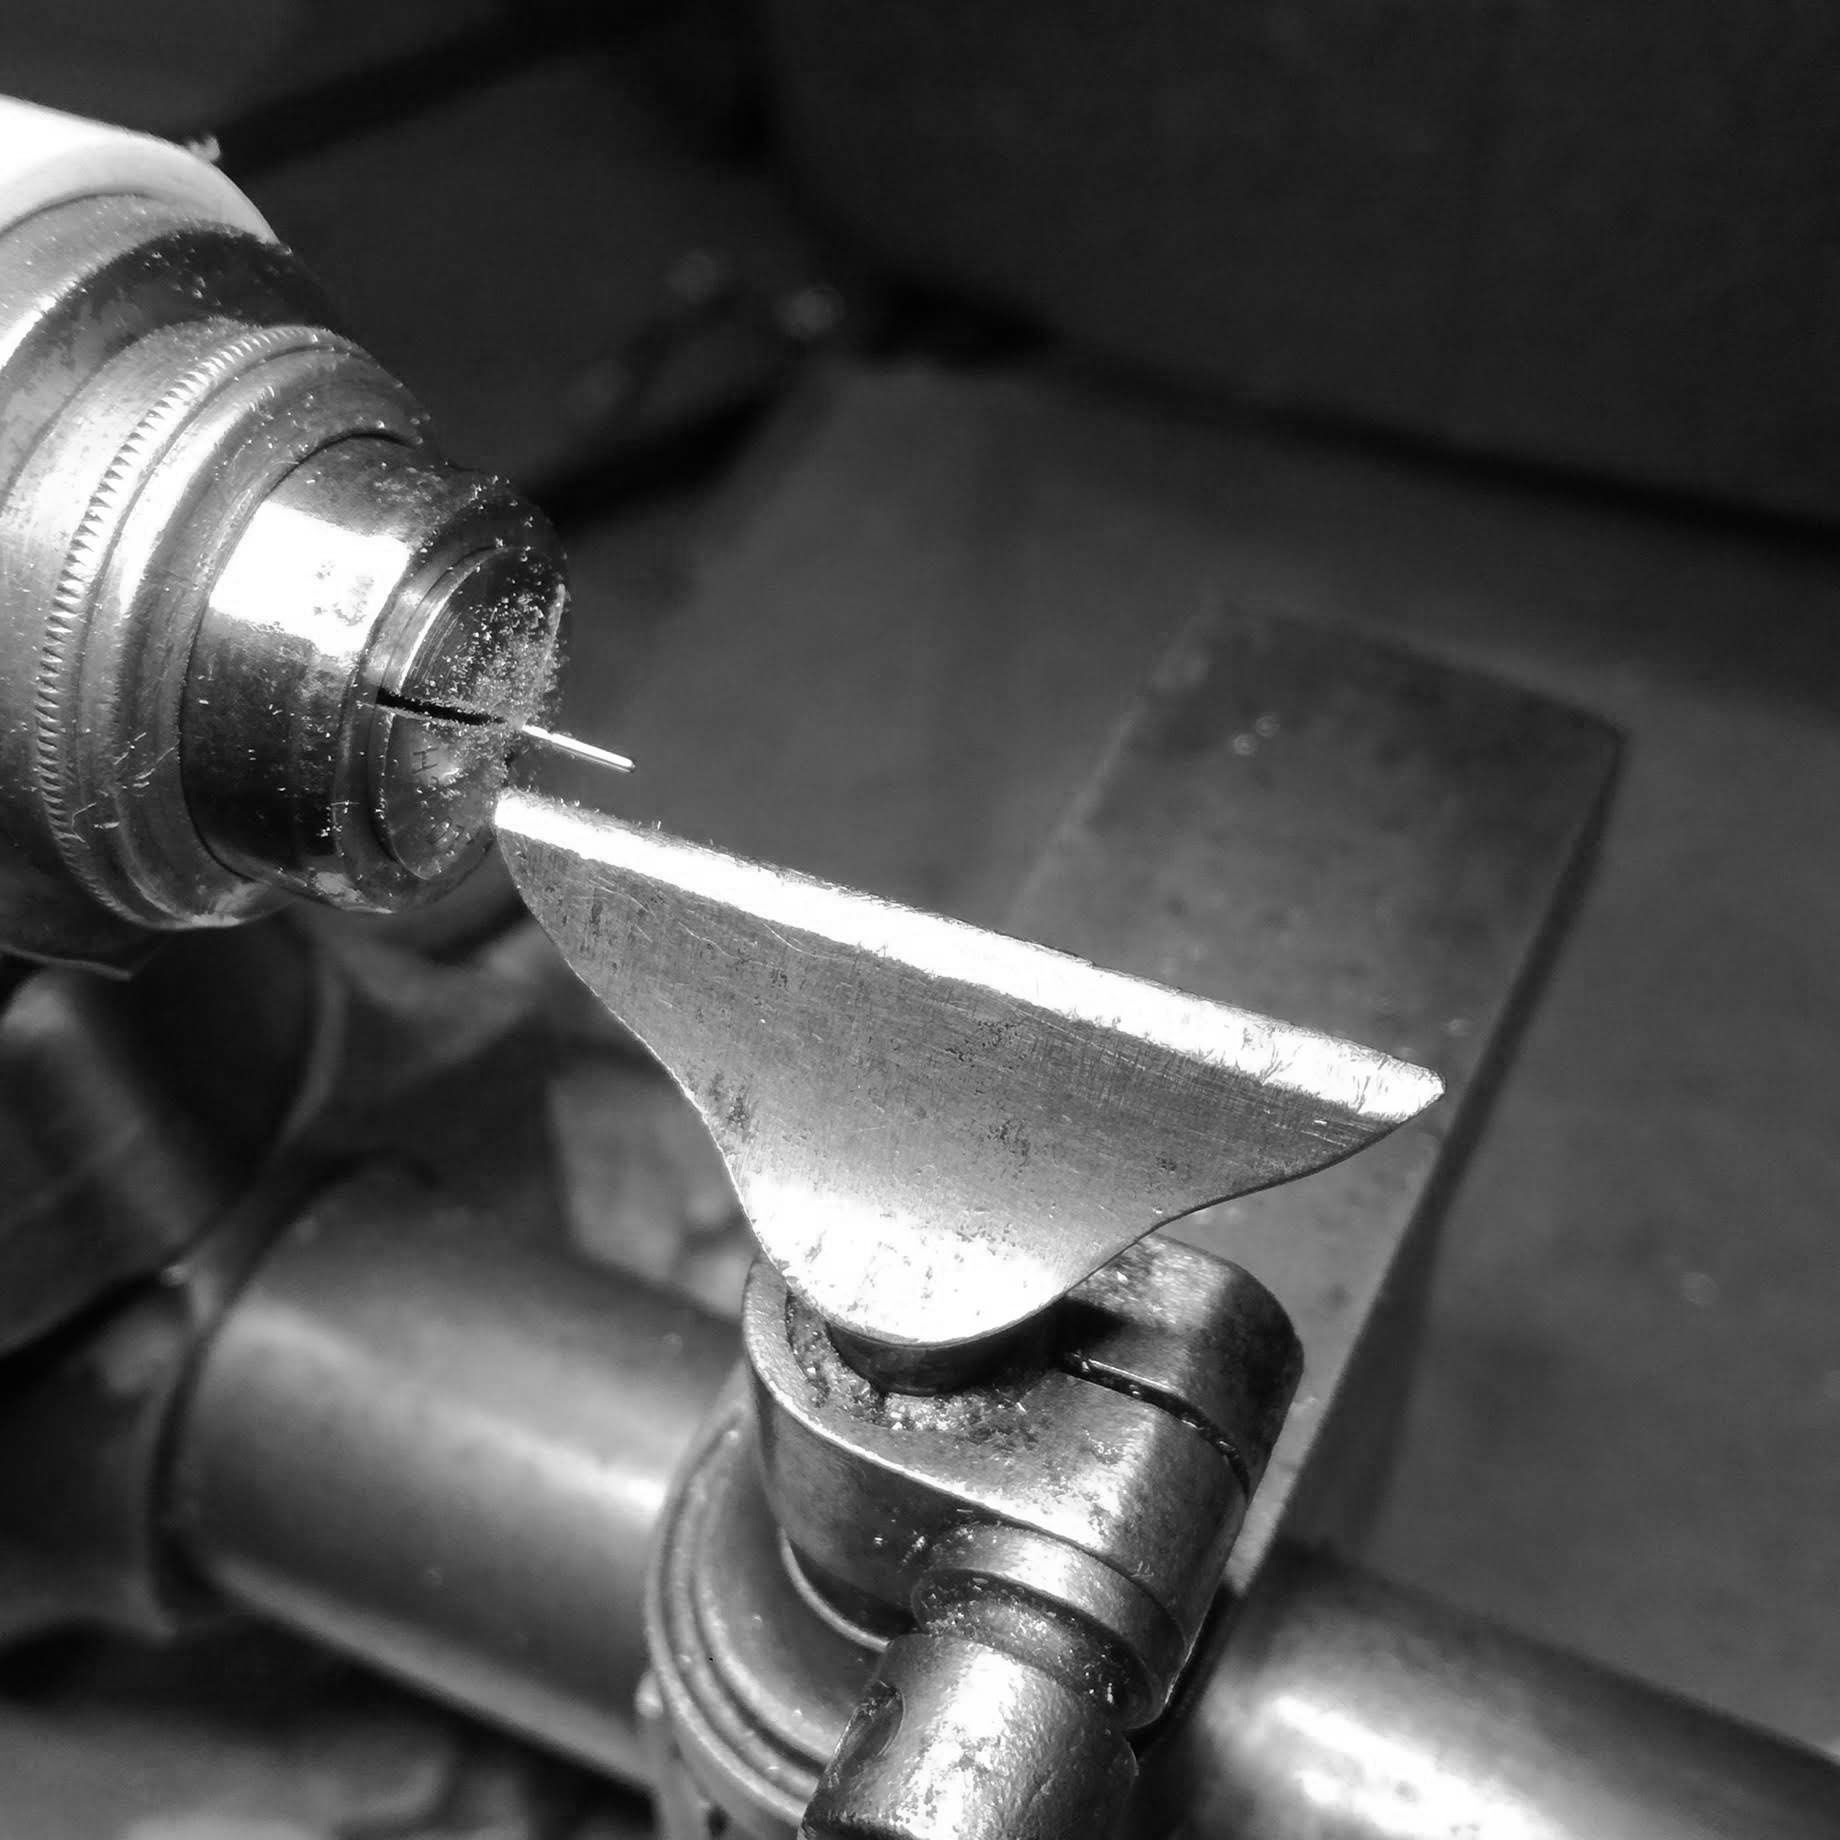
Hand turning the locating pin for the stem holding block.
Staking the pin onto the holding block.
Positioning this on the movement.
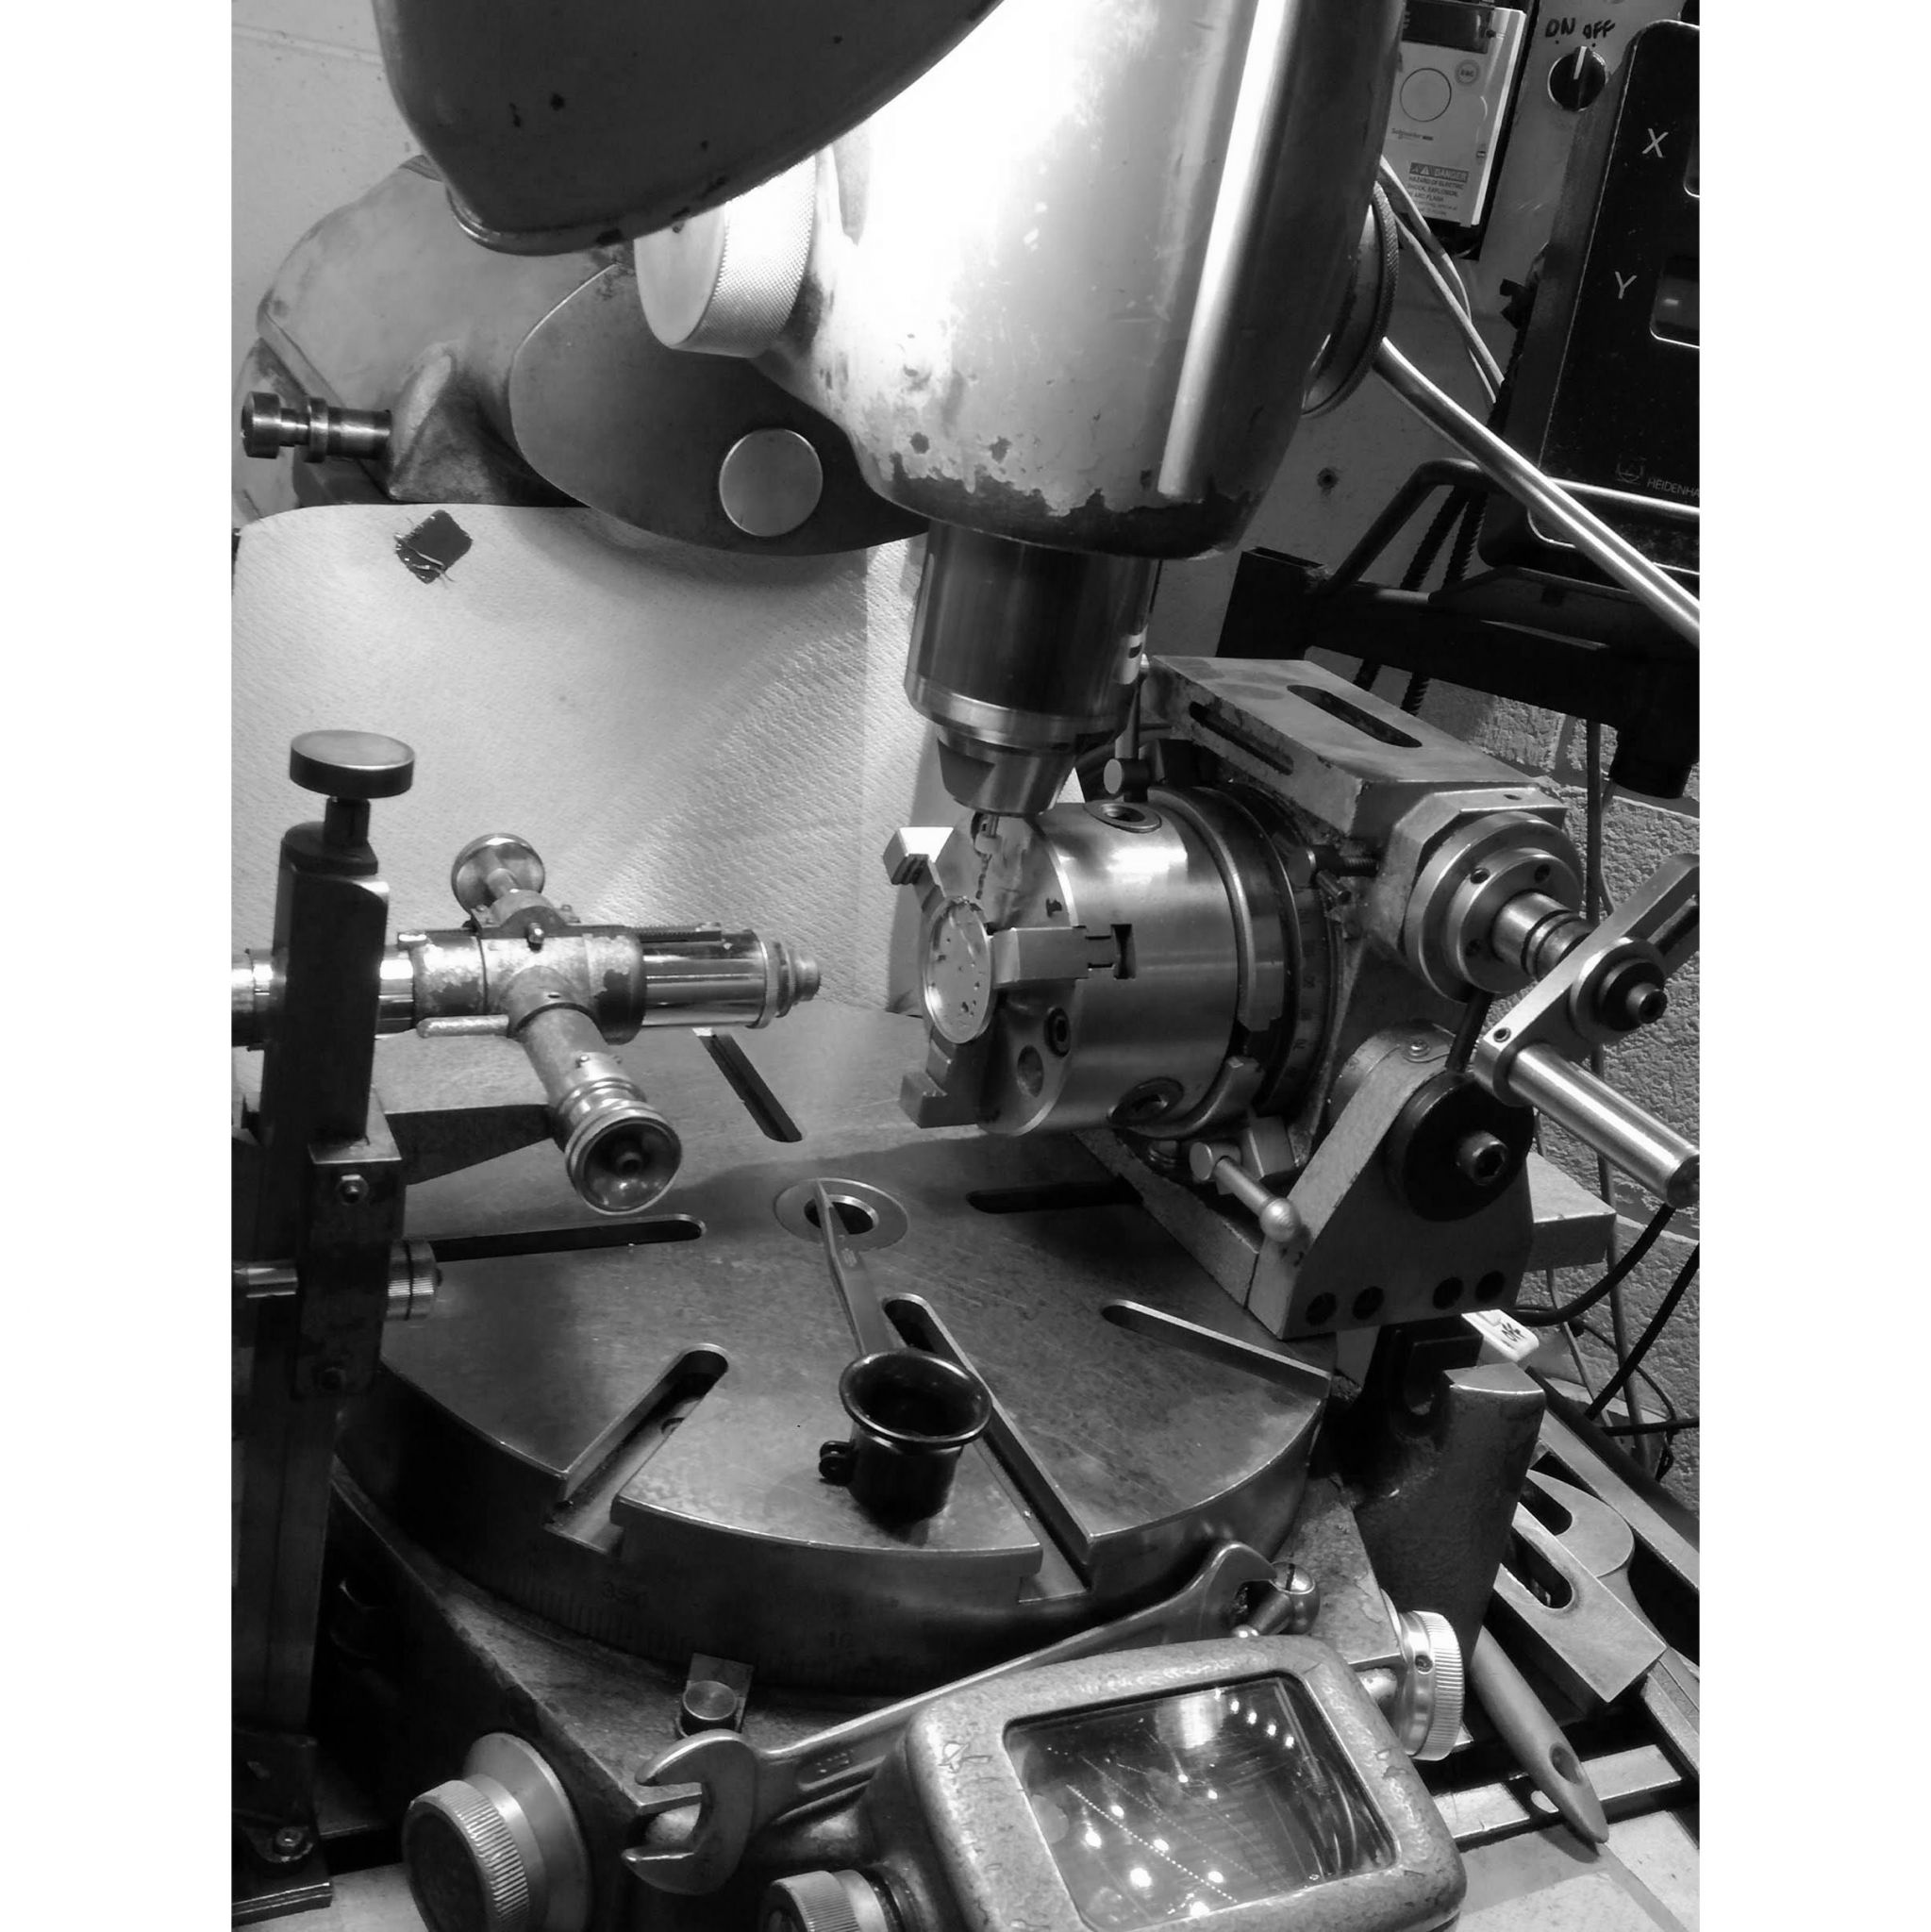
A very complicated setup to drill the hole for the stem. It has to be squared vertically and horizontally (hence two measuring microscopes on each axis).
Testing the bronze piece fit.
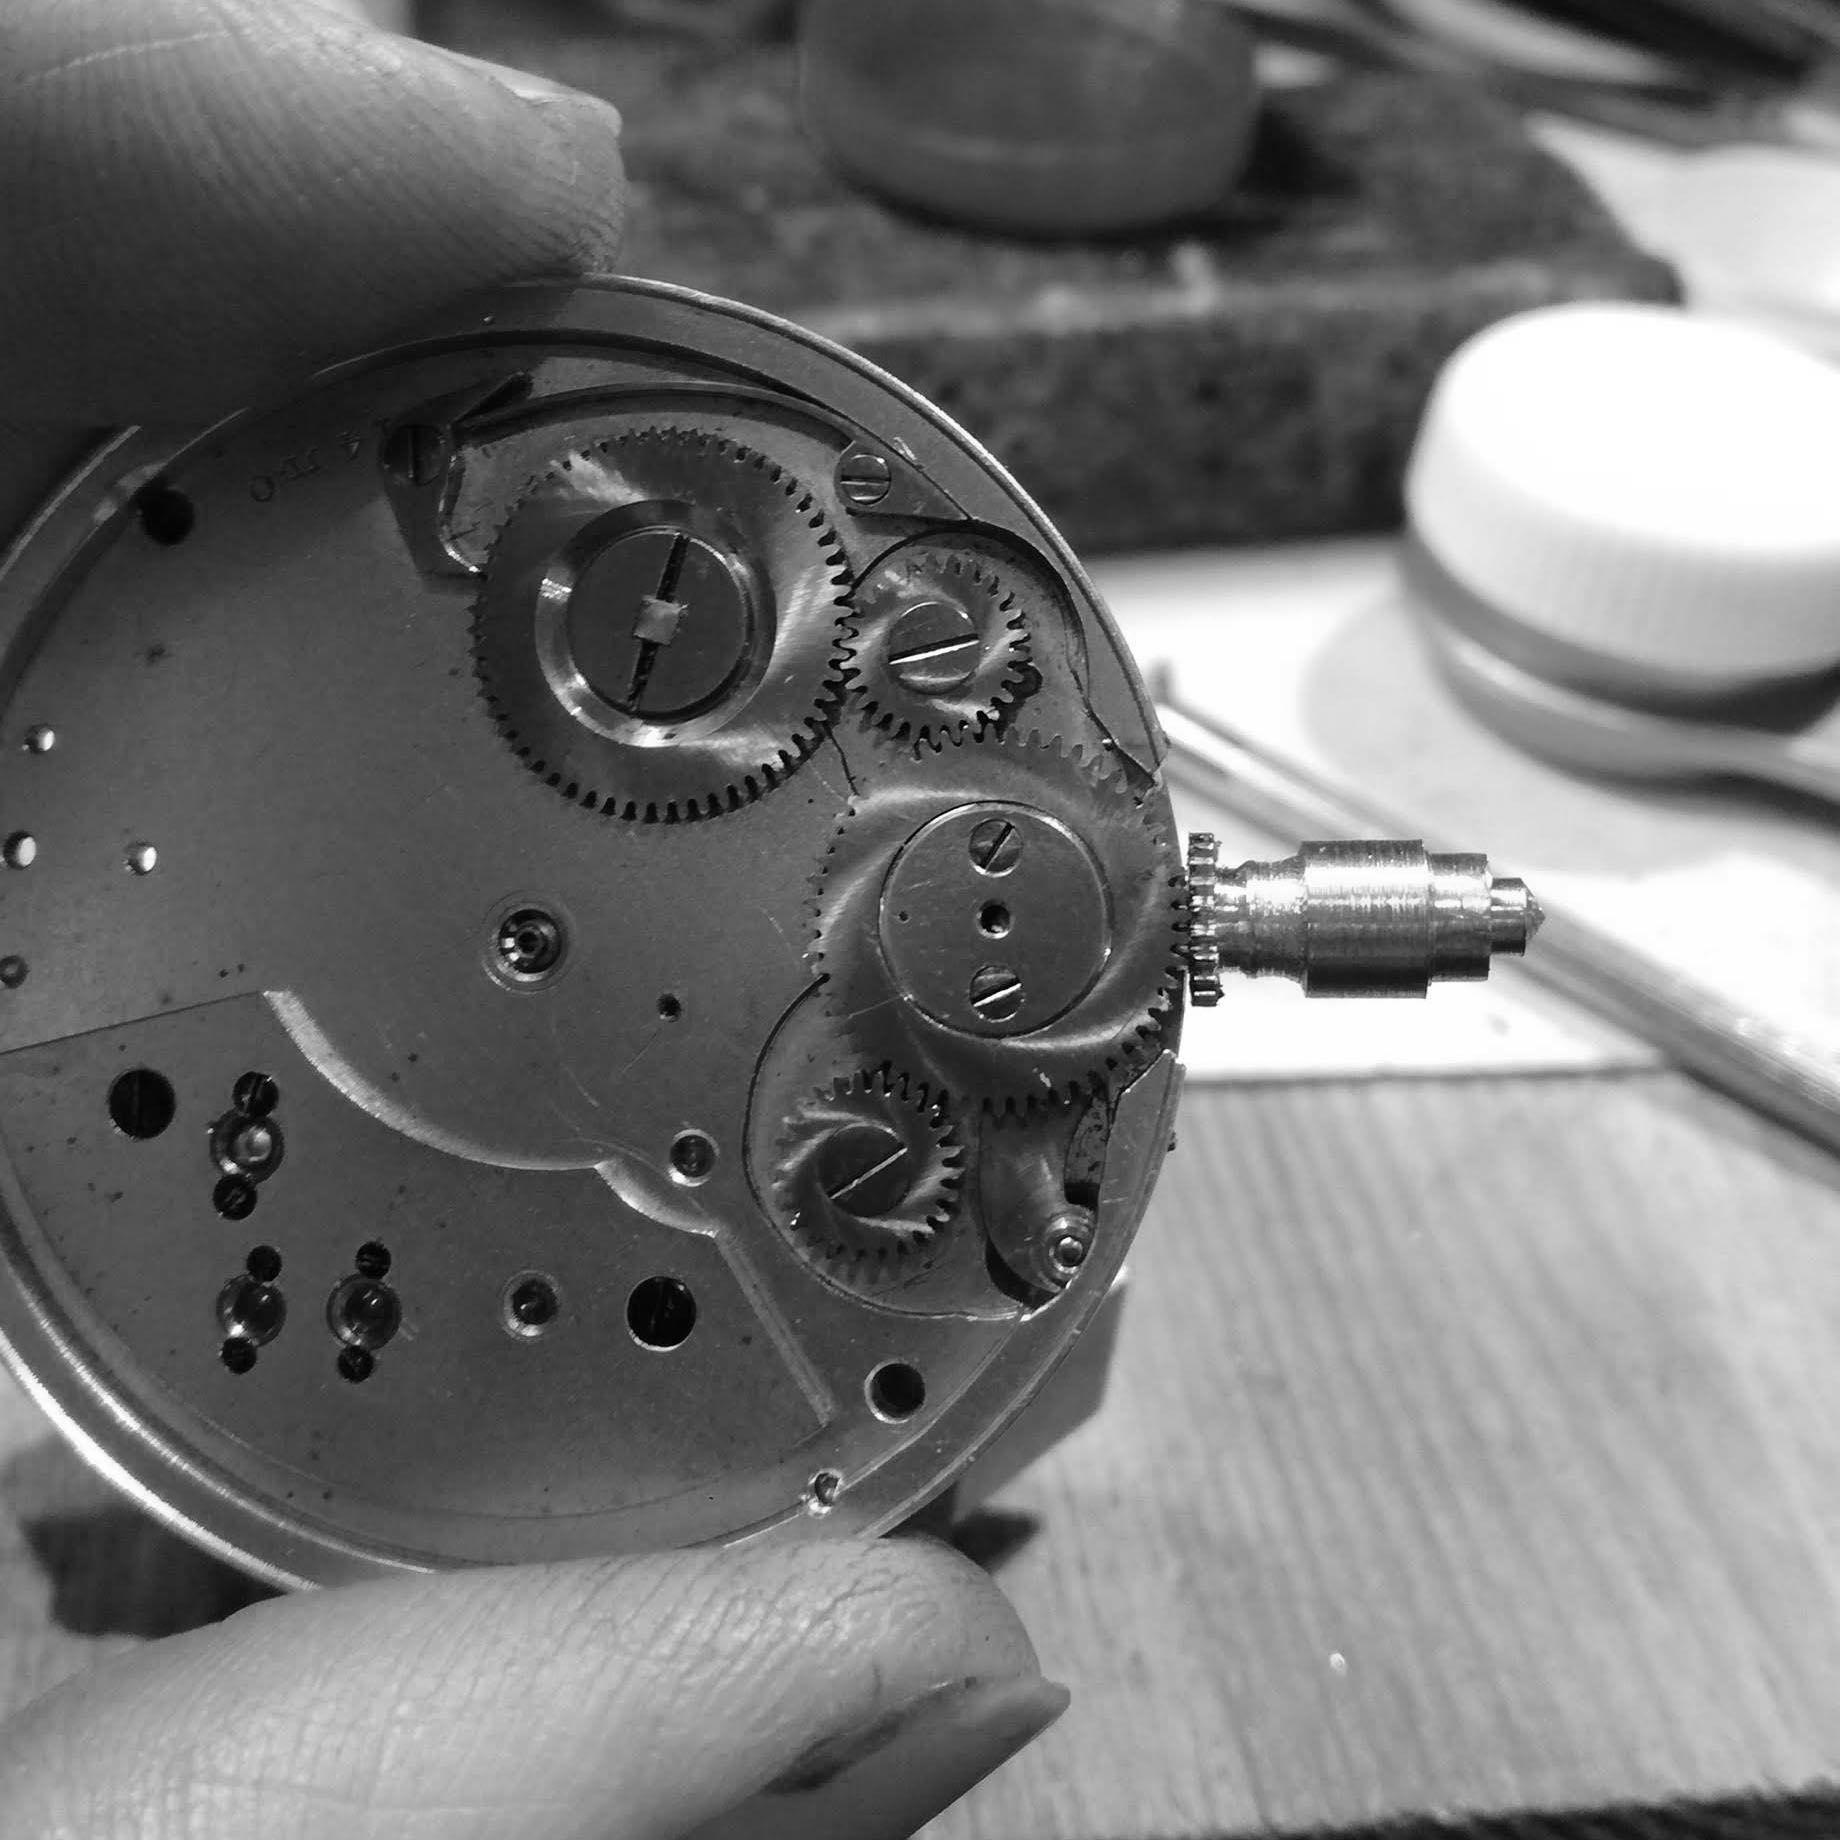
Testing the winding of the prototype brass winding stem with watch gears.
Drilling a hole in order to move the winding / time setting ratchet wheel arm tensioning spring.
New location of the tensioning spring. I chose to use a vintage English made spring as the original in this location is not usable.
Checking the engagement of the gears again.
Finishing the stem holding block.
After hardening, tempering.
To start cleaning up the cosmetic details of the watch, I start on the balance bridge.
It has a faceted diamond end-stone, to act as a end-jewel for the balance staff. Here you can see the two-jewel system (normal pivot jewel and end-cap, both in chatons)and holding screws.
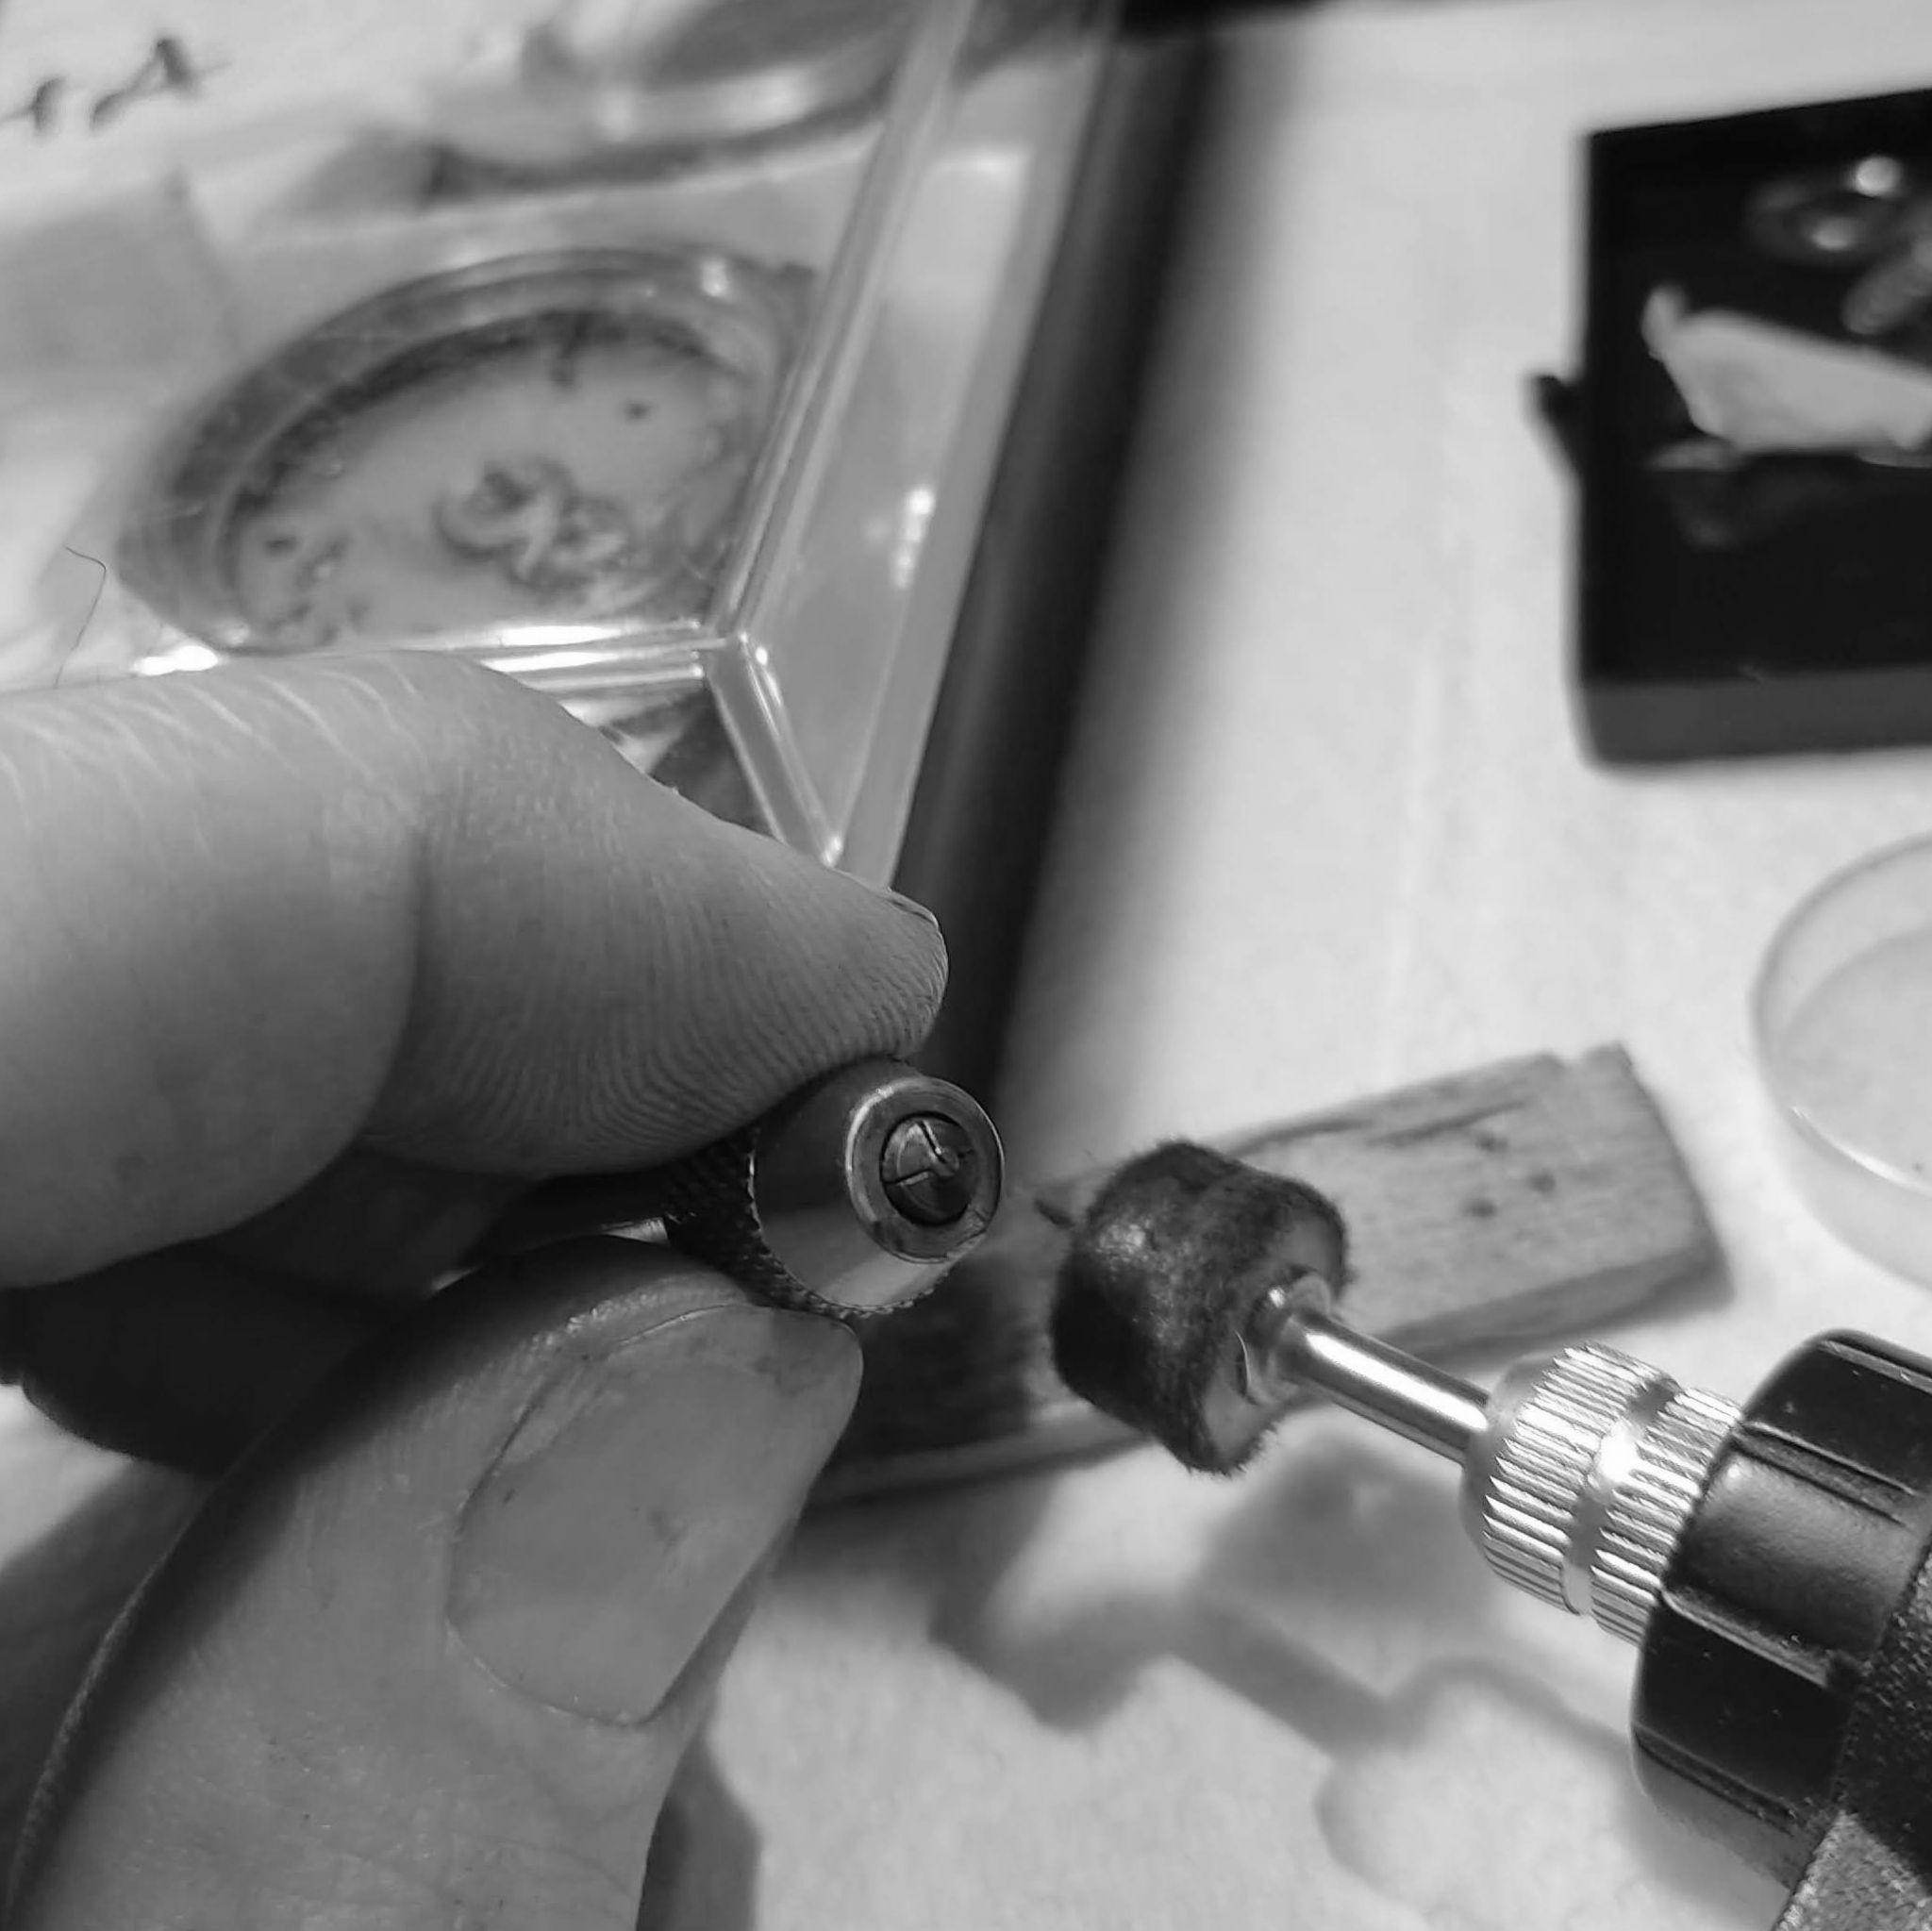
Here I polish a screw head. I will not fix deeply marred screw heads (there are none fortunately), but if it is over polished, it can change the slightly domed nature of the screw heards.
The diamond balance staff end-cap jewel is set in a steel chaton (bushing), as is customary. However, it is normally not blued, but here Zimmerman chose this, so it will be blued. I use diamond paste to polish the setting (it is temporarily held with double sided tape).
Here I put the chaton in the chuck to be able to polish it better.
This is the escapement bridge (carries the escape wheel and escape lever pivots). Both pivots are given end-cap jewels, which regulate the end-play (axial movement).
I clean each jewel chaton one at time, without changing their place, since they are marked with a 'dot' on the perimeter to indicate their original position.
Using wood and diamond paste to gently clean the brass chatons.
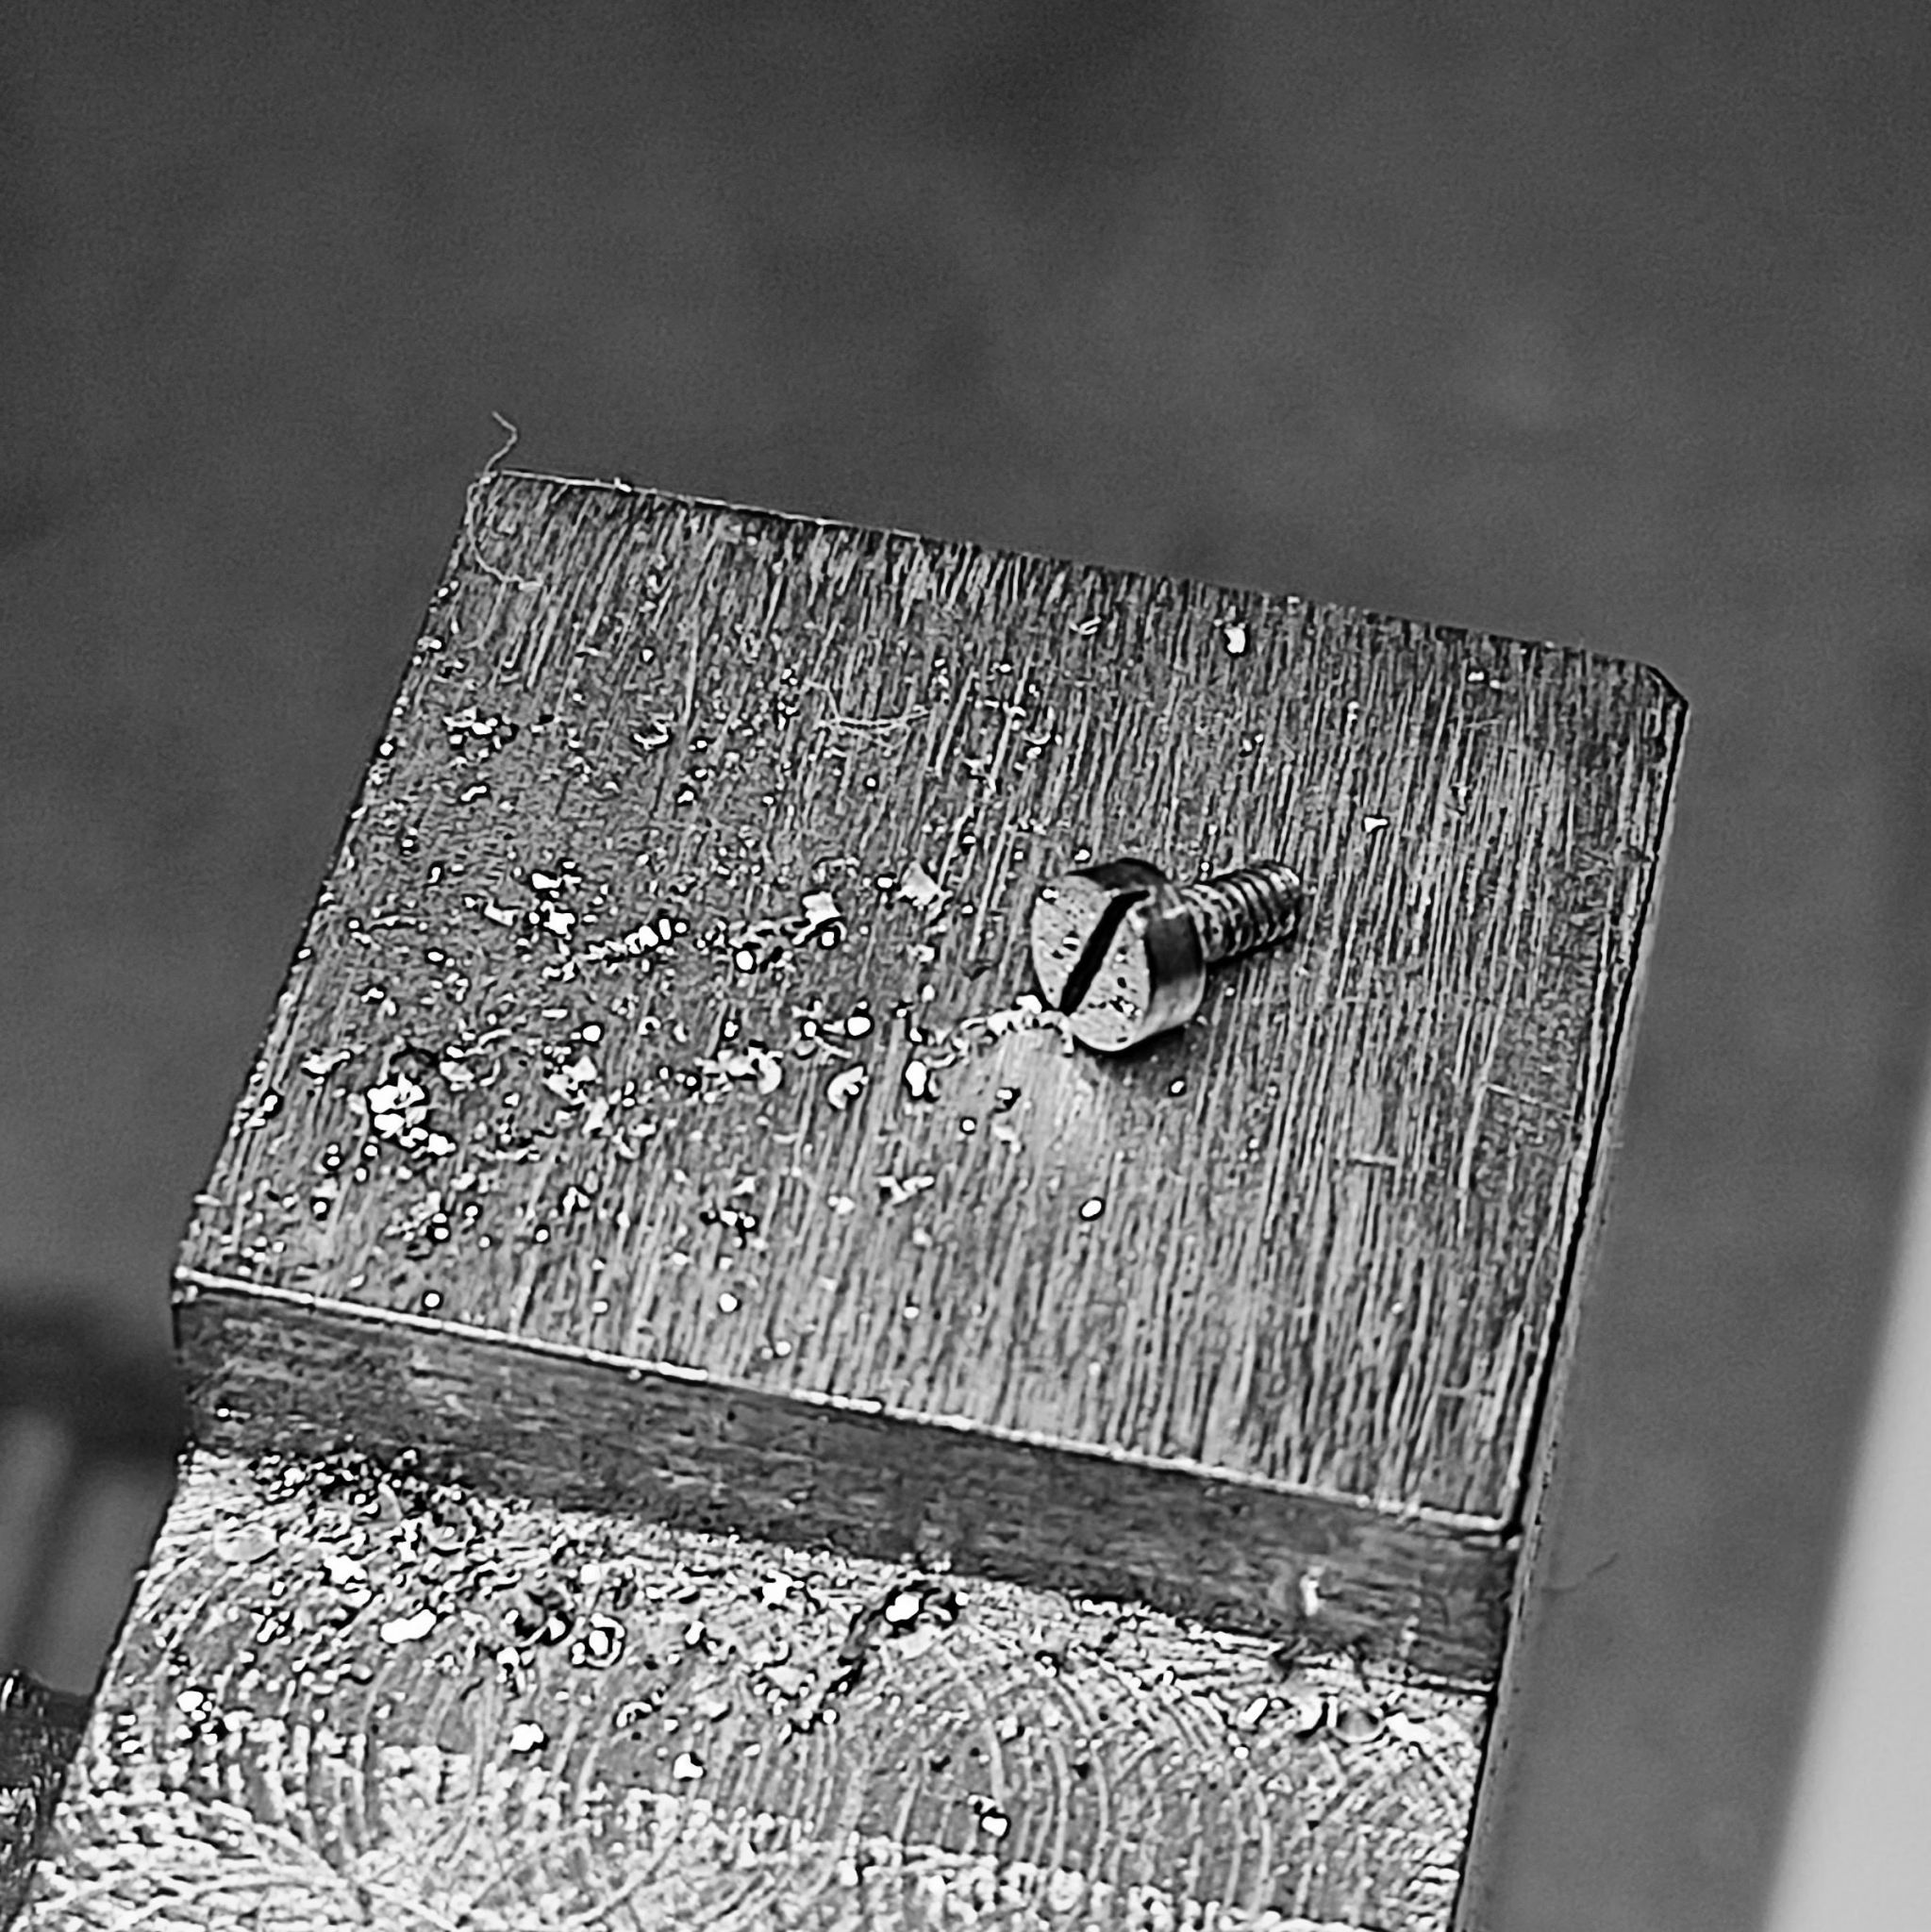
The escapement bridge screw, previous to cleaning. You can barely tell that it has a matte-finish, due to slight surface rust.
The screw previous to polish. You can see that the screw slot is not perfectly centered on the head, showing that the slot was cut by hand(or hand operated machinery, not by an automatic screw manufacturing machine).
After polishing. The specs on the screw are a reflection of the brass chips.
I start to work on the 3/4 plate.
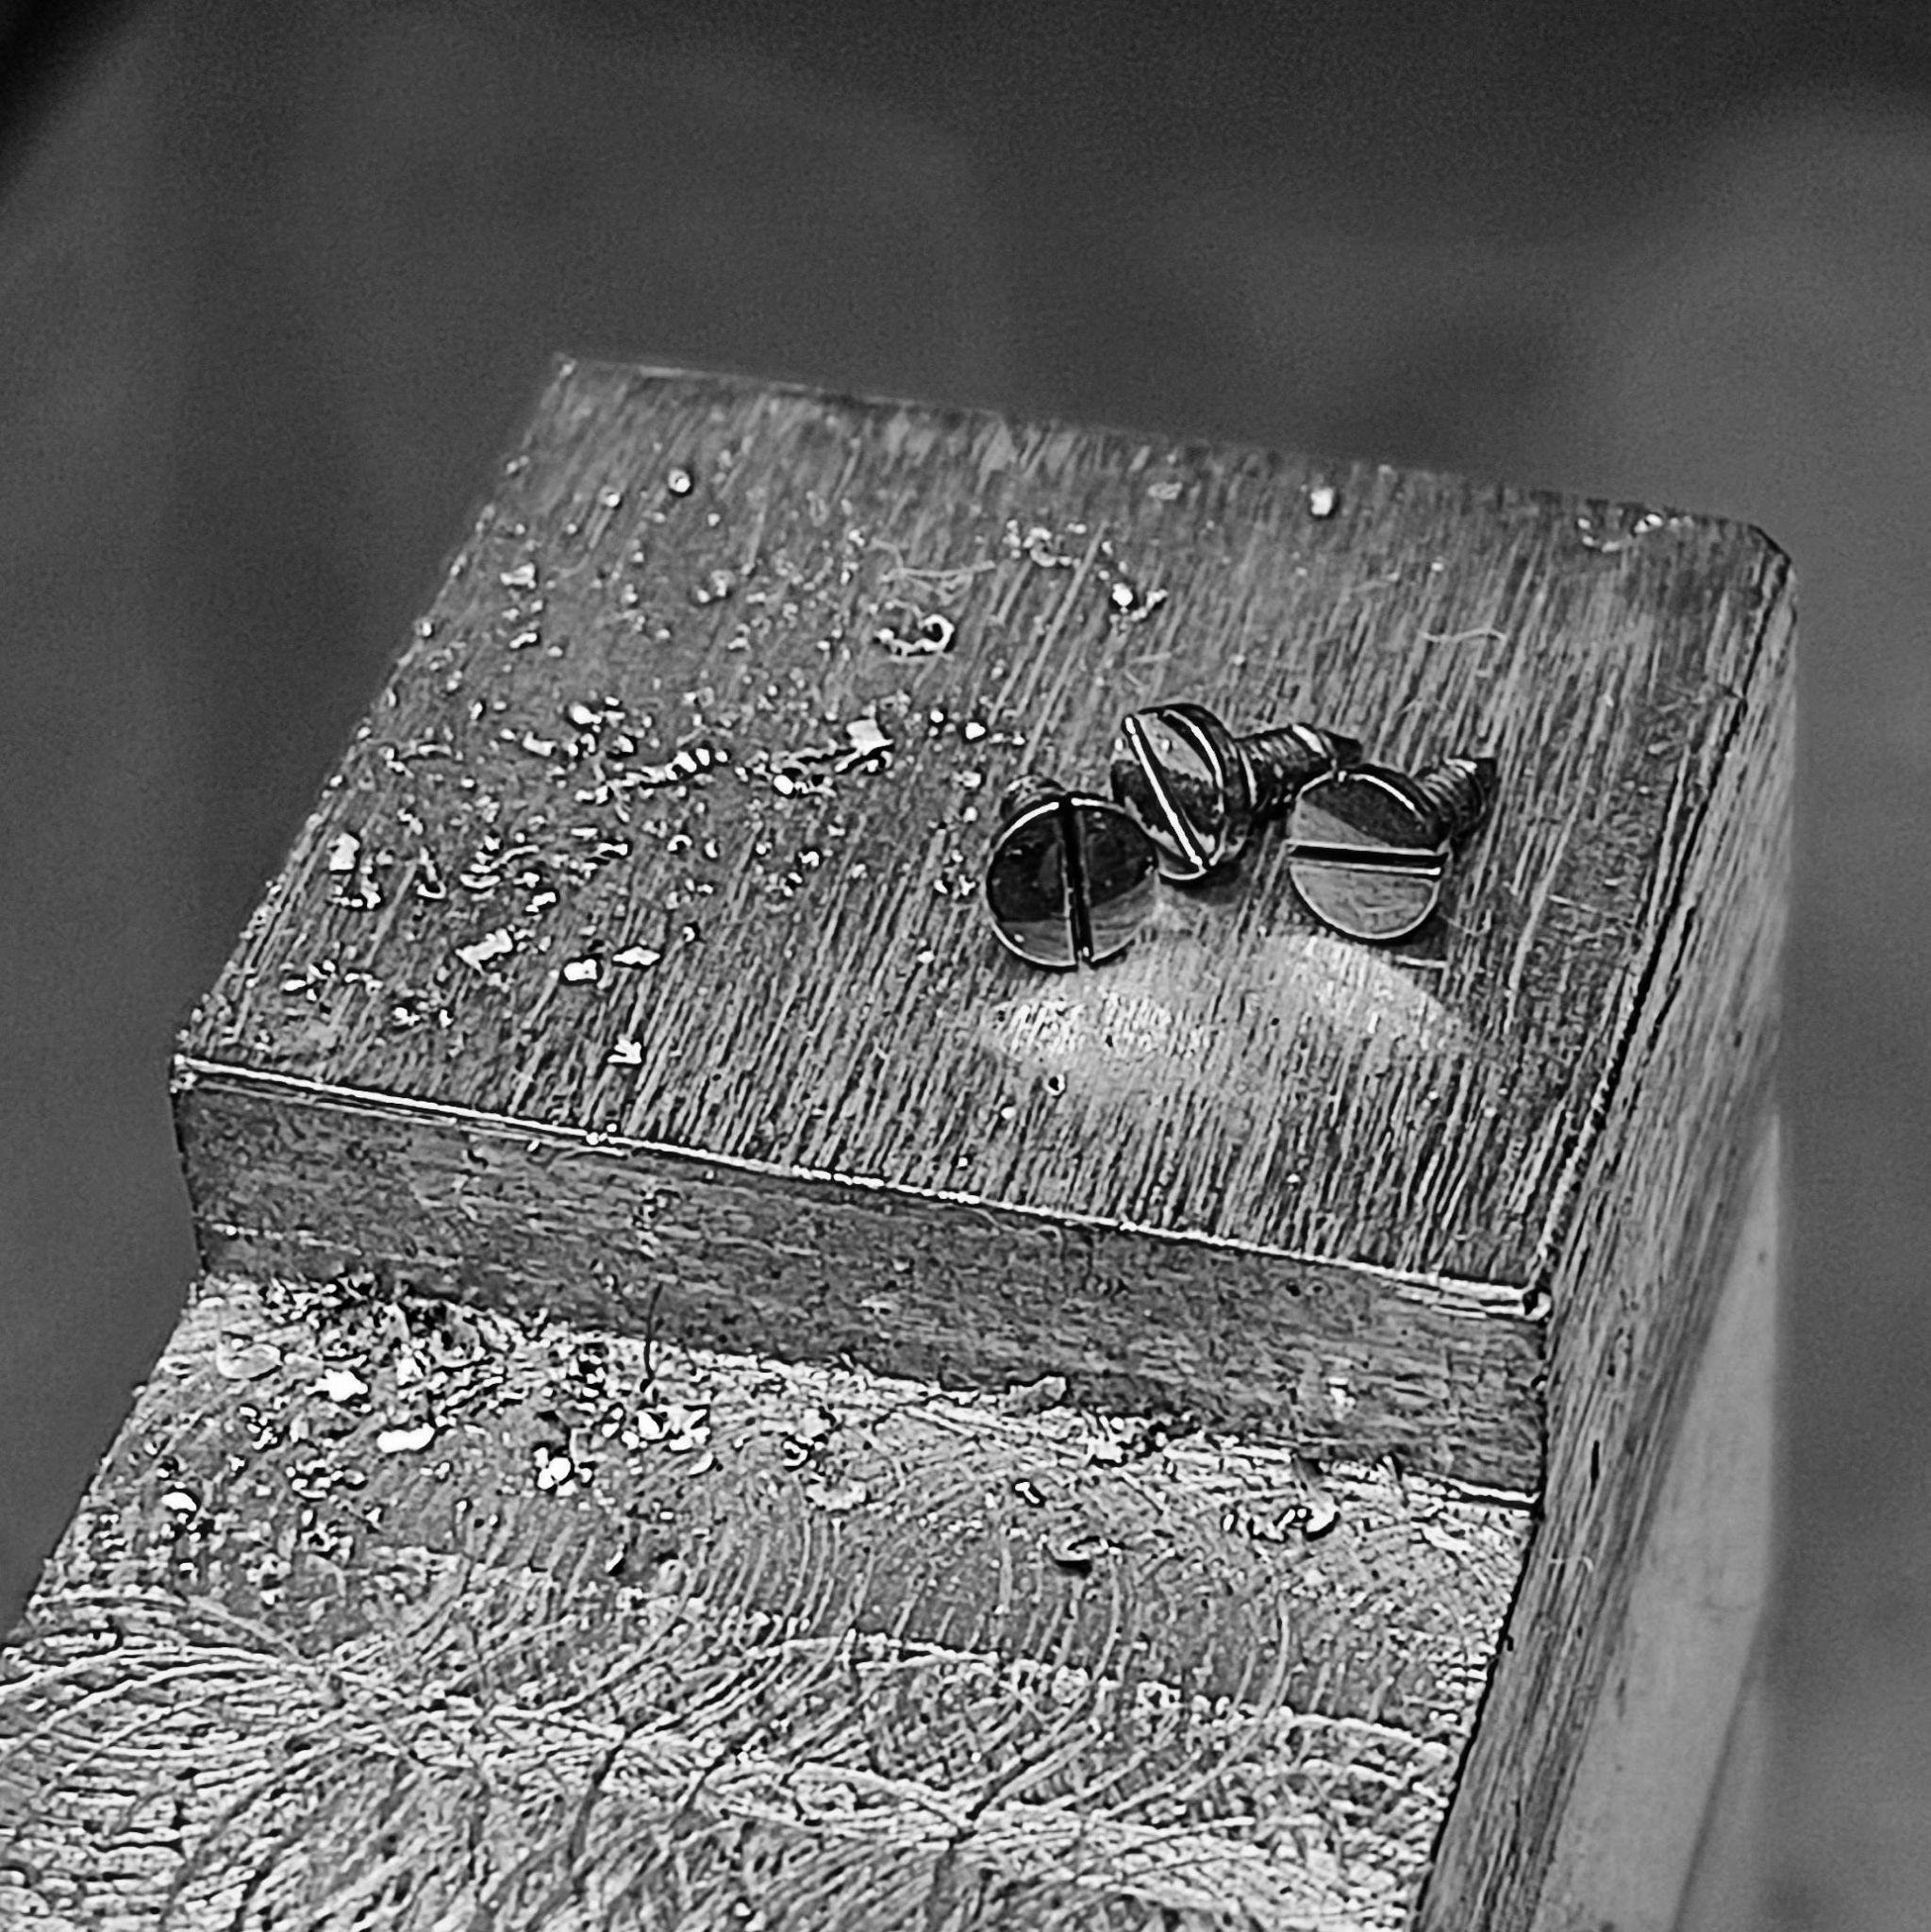
A detail that defines English watch screws, are the 'V' screw-slots, which are different than the 'U' slots of Swiss-German watches. The cutters were different, and often filed by hand.
Here are the three screws polished. Not discernable here, but two screws have 'dots' stamped on them, they correspond to their place on the 3/4 plate (each screw had it's exact position, even if they were generally of the same size). This is because the finisher adjusted each screw to the movement for best fit.
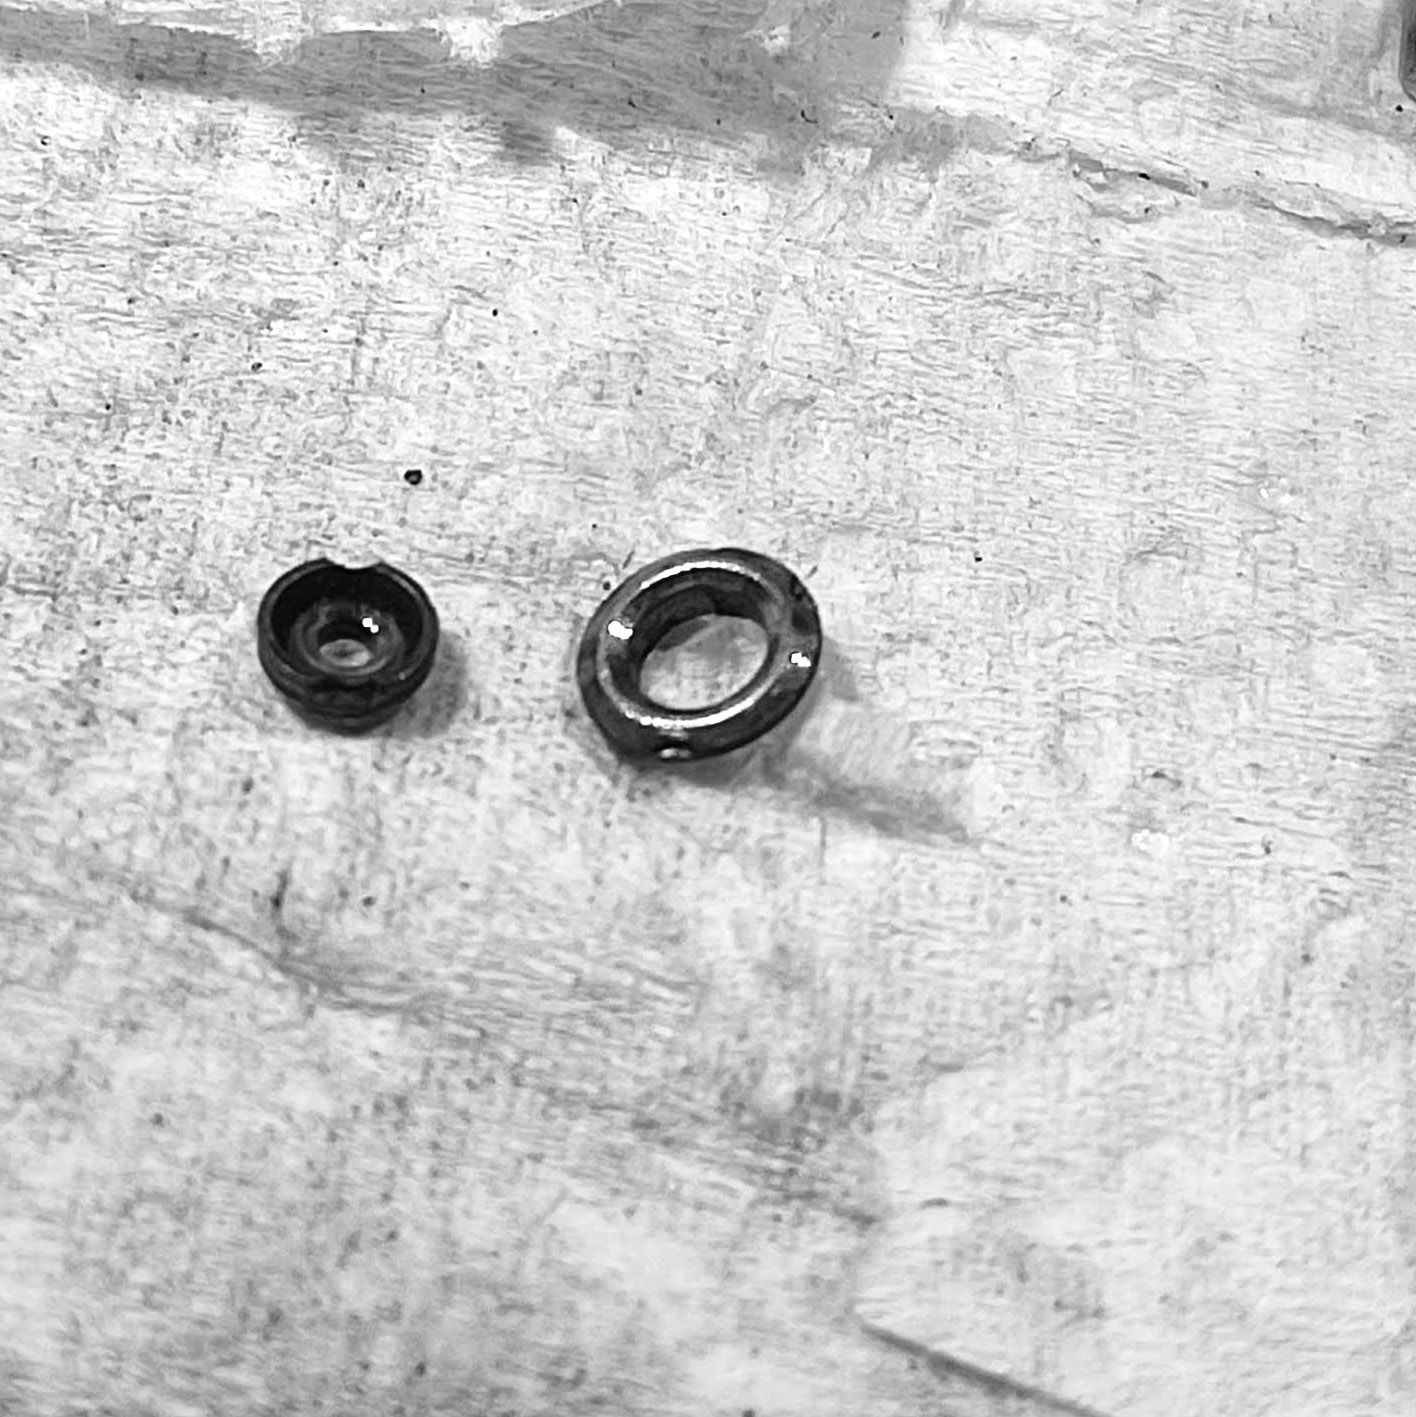
Cleaning the mainspring bushing chaton.
Here is the 3/4 plate jewel chaton and mainspring bushing.
Polishing the bushing in the lathe.
I cleaned the 3/4 plate. The gilded surface (done via mercury evaporation with fire) is very sensitive to abrasives and solvents. I gently clean it with a cotton swab, and instead of applying wax (as originally done), I pass oil and remove it with a cloth, this gives it an even shine. Wax is avoided since the heat from the wrist can make it flow onto the gears.
Next is the 1/3 plate from the top (dial) side of the movement, it carries the balance, escape wheel and lever jewel settings.
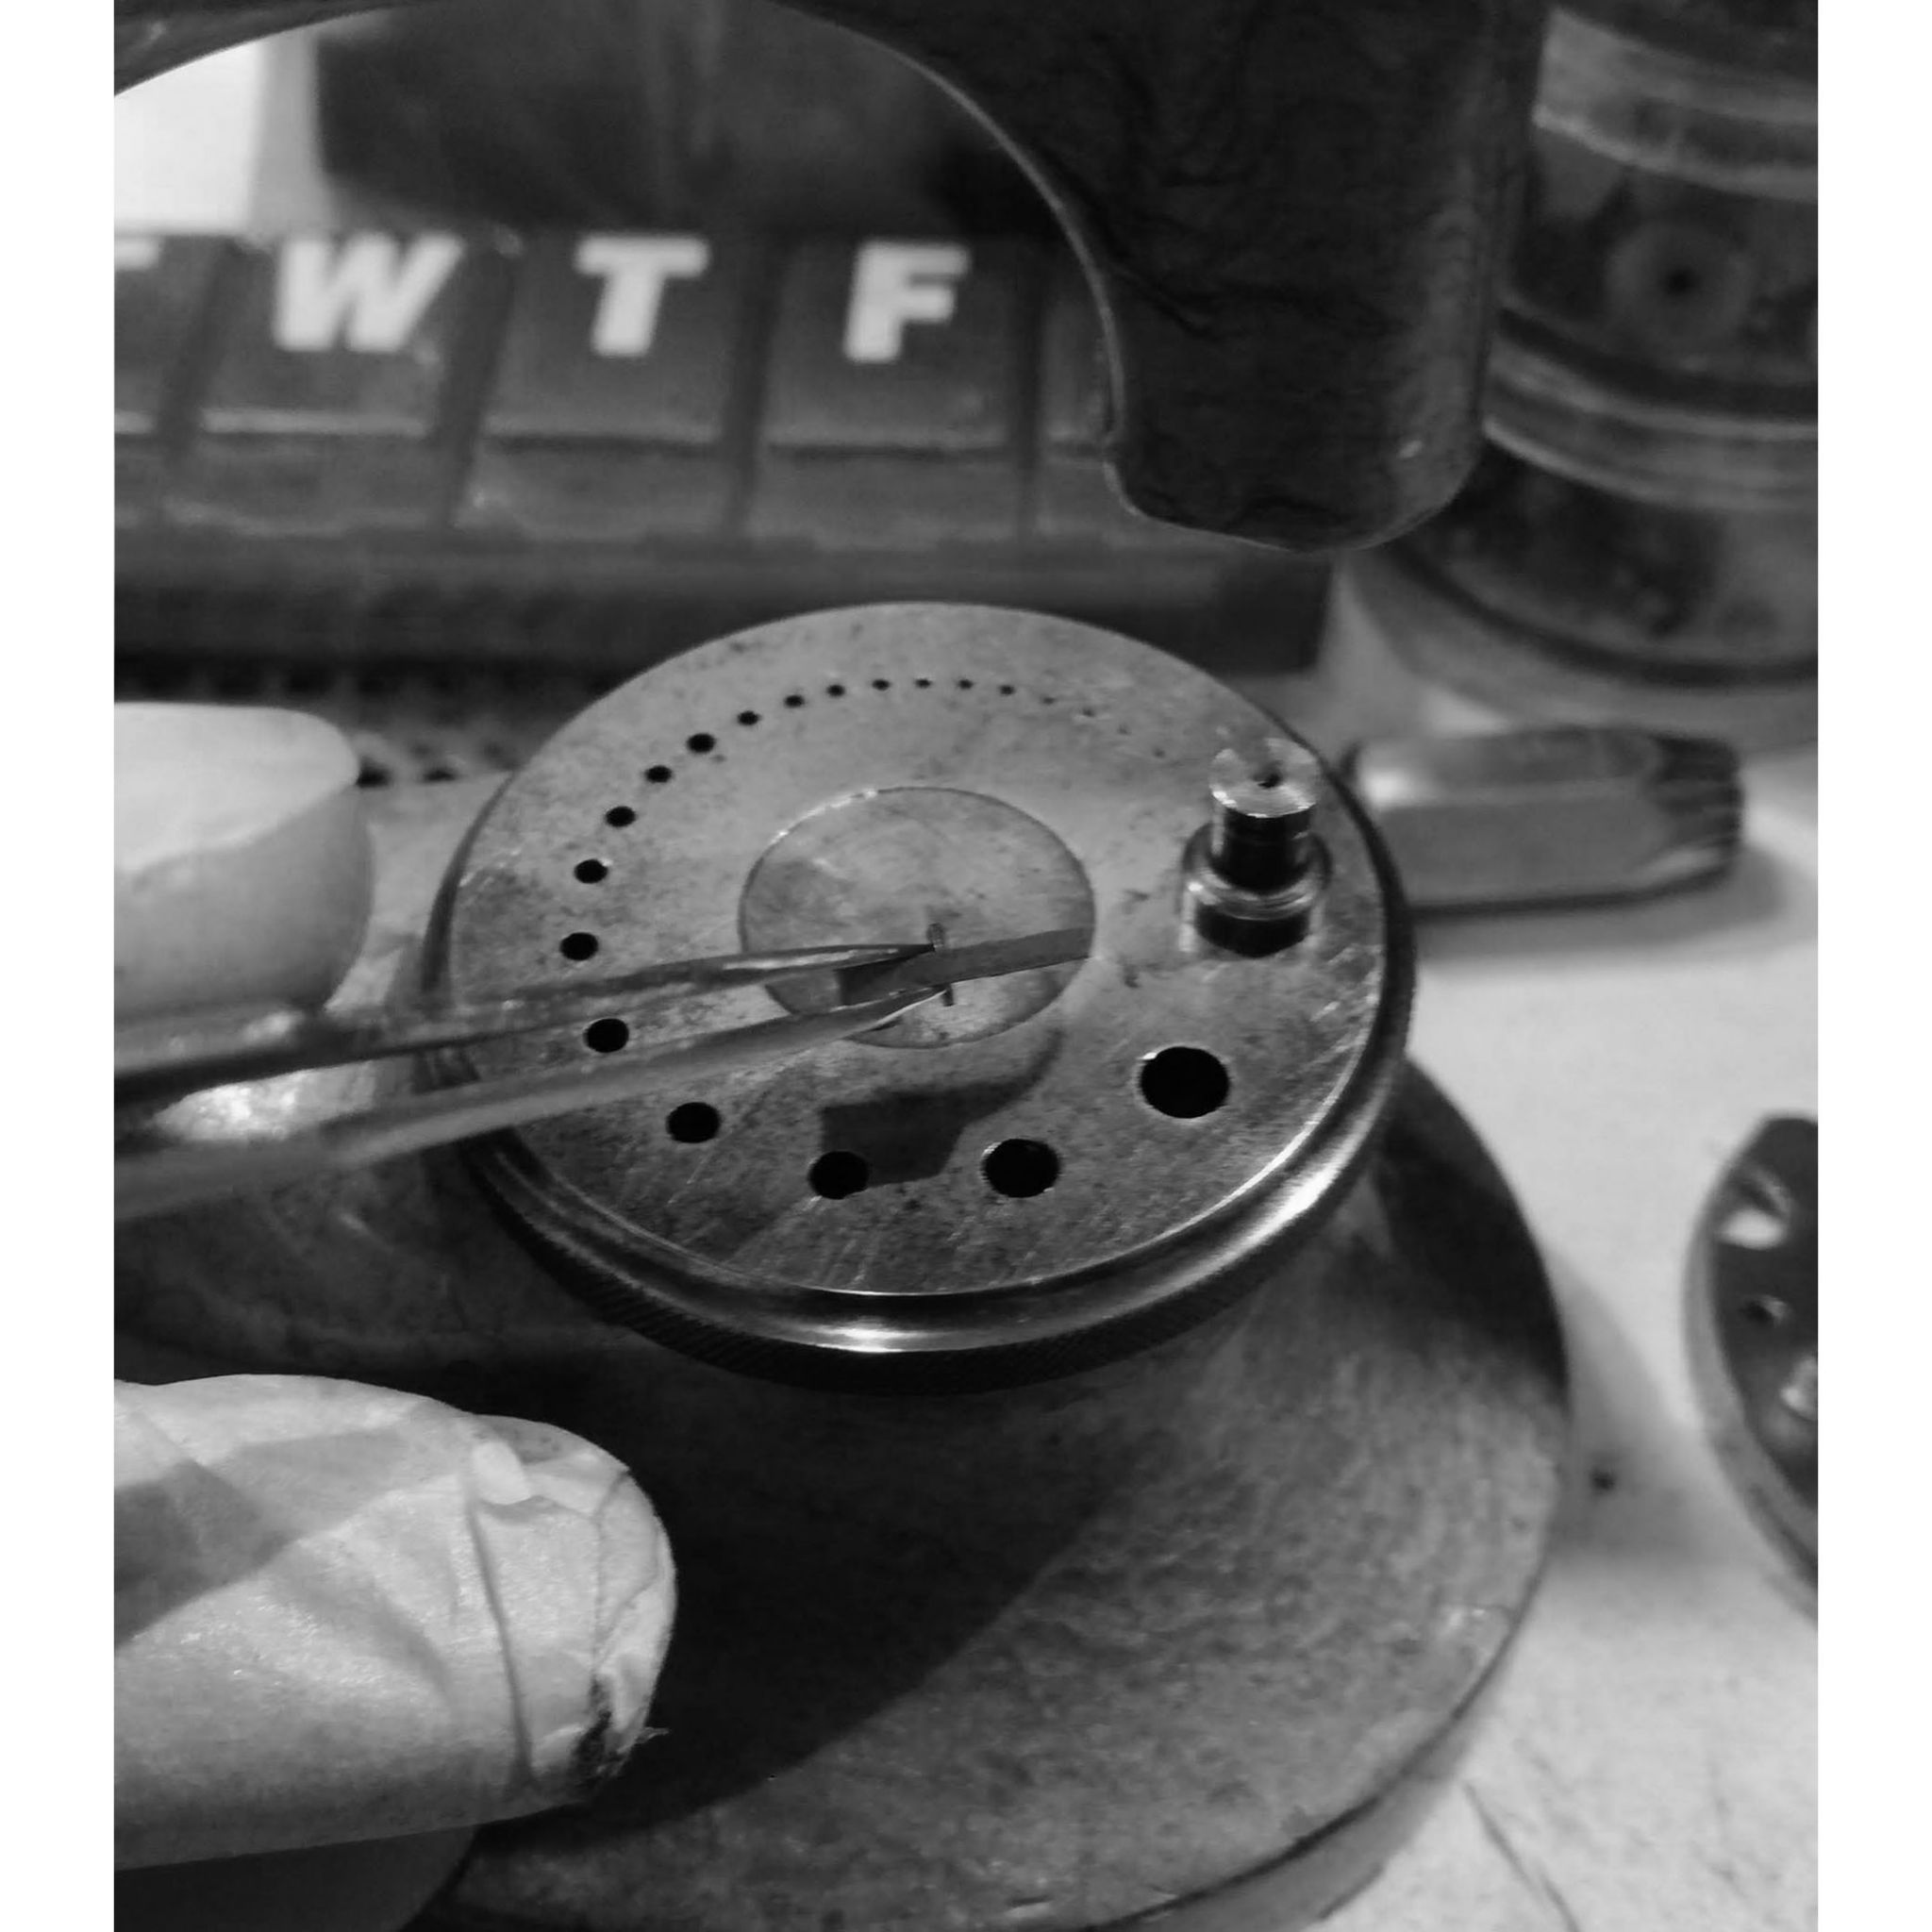
Again, since each jewel is set and adjusted in place (including screws), I mark each set for its position (here done with a marker).
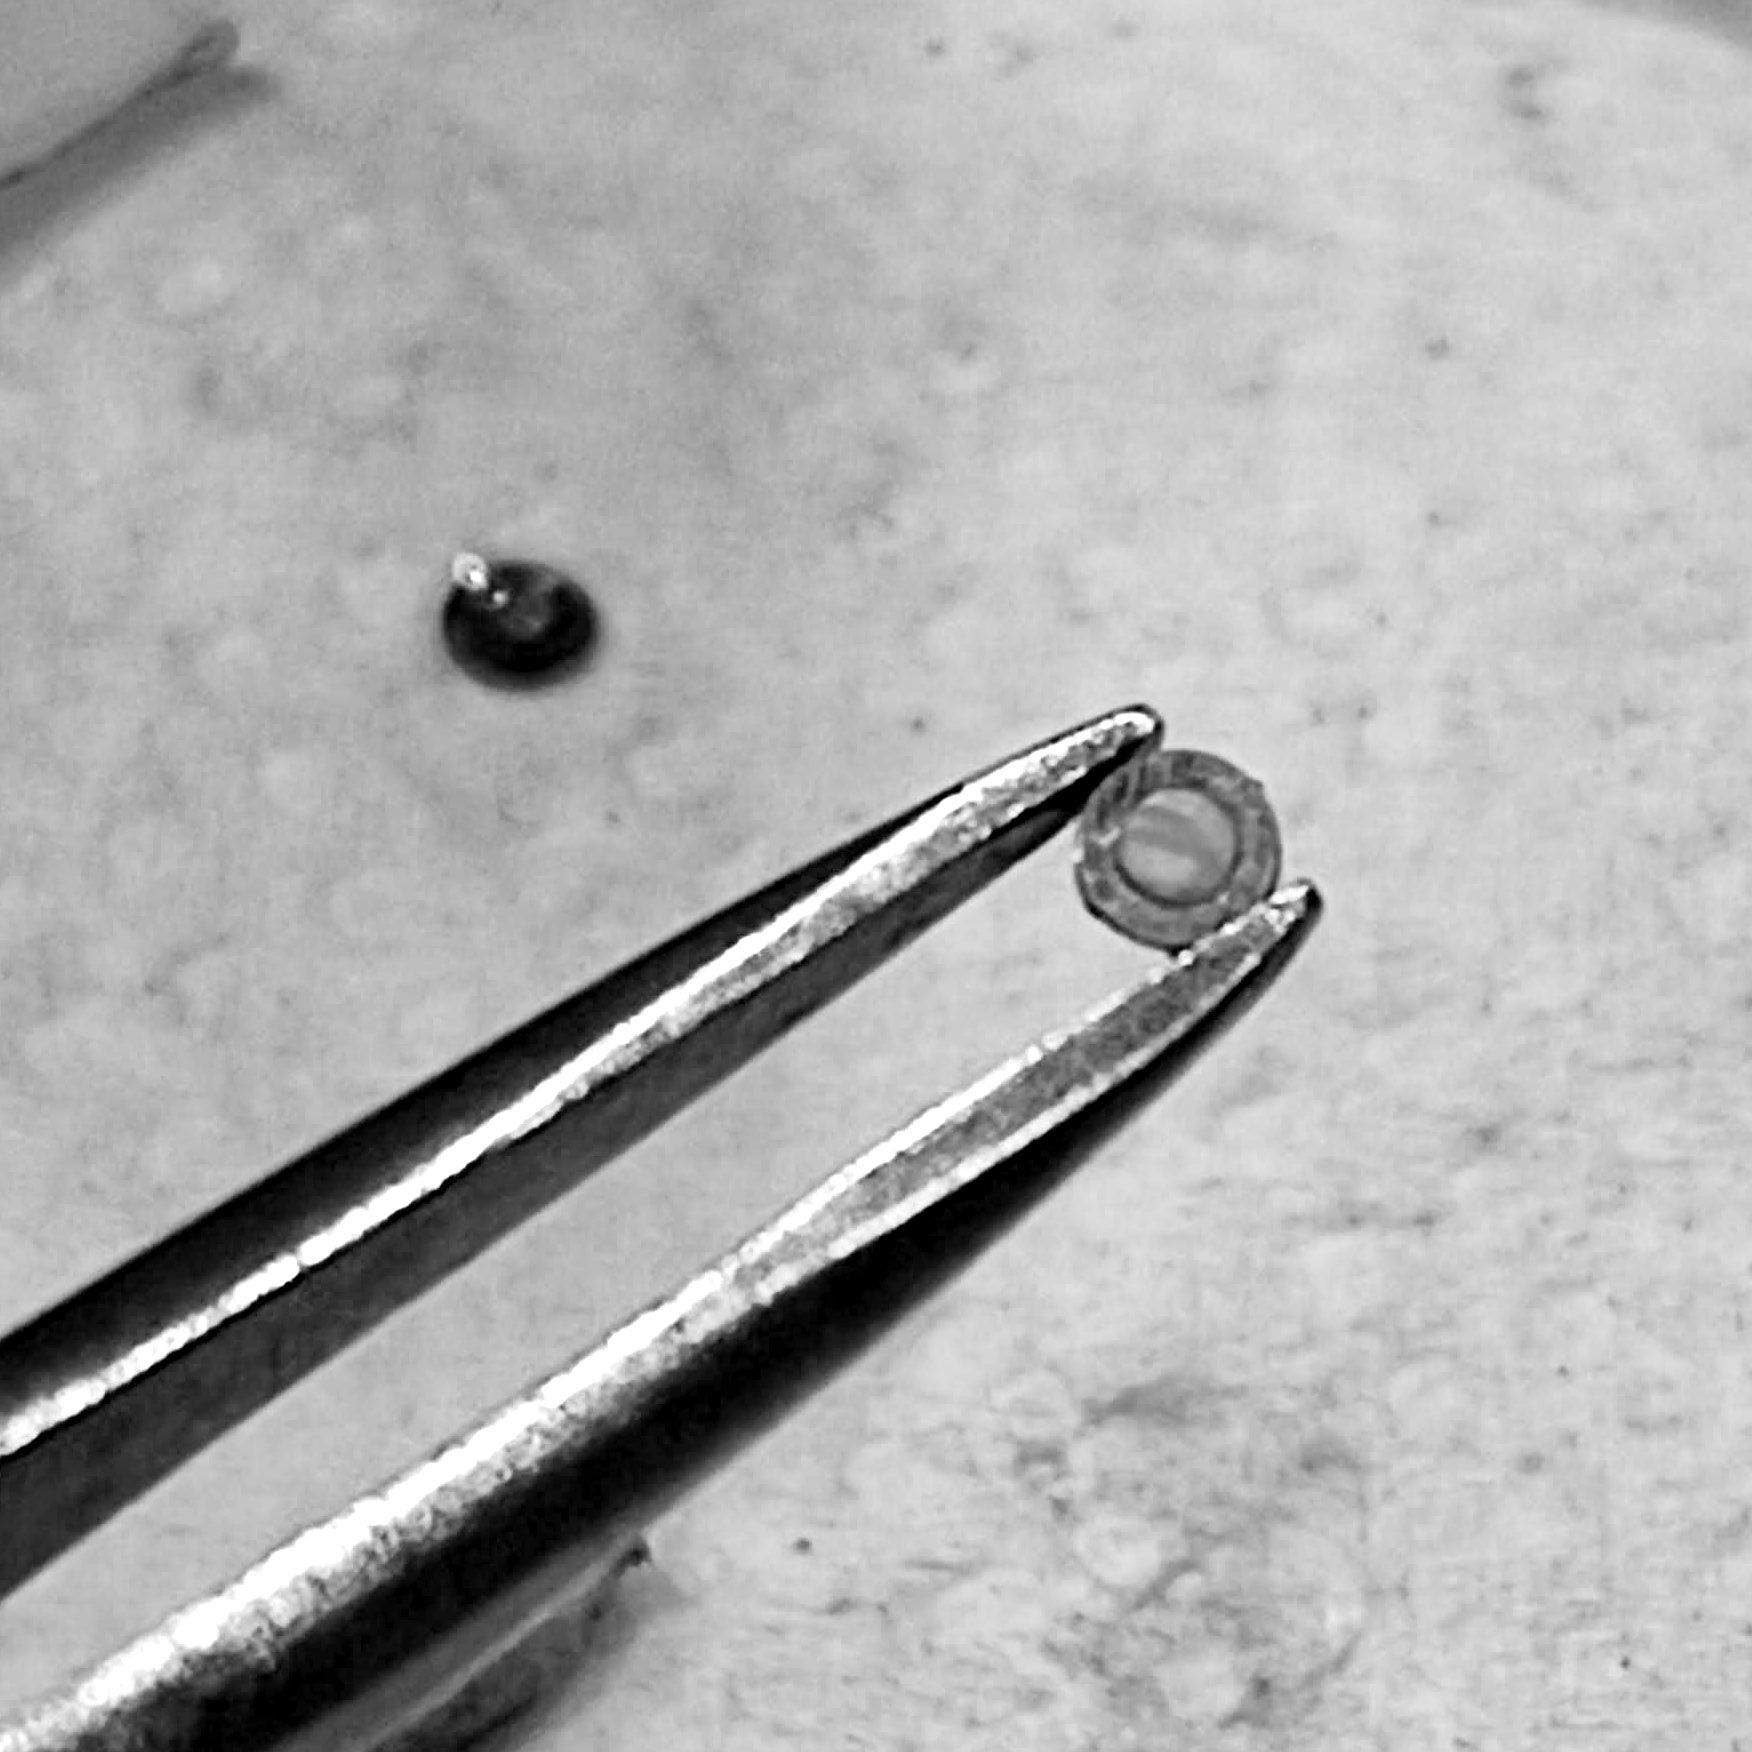
Removing the jewels one at a time.
Many of the jewel-cap rubies have natural intrusions in them, here a darker shared of red among a light pink background. This is normal for English watches.
The 1/3 plate is photographed for the position before being cleaned.